When it comes to improving their homes' energy efficiency, most homeowners focus on insulation, windows, or doors. But one key factor that often gets overlooked is roof ventilation. Roof ventilation plays a significant role in maintaining your home's temperature, reducing energy costs, and preventing potential damage to your roof and attic.
I n this blog post, we'll dive into the importance of roof ventilation, how it affects your home's energy efficiency, and why ensuring that your ventilation system is working correctly is crucial.
What is Roof Ventilation?
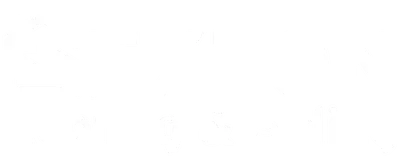
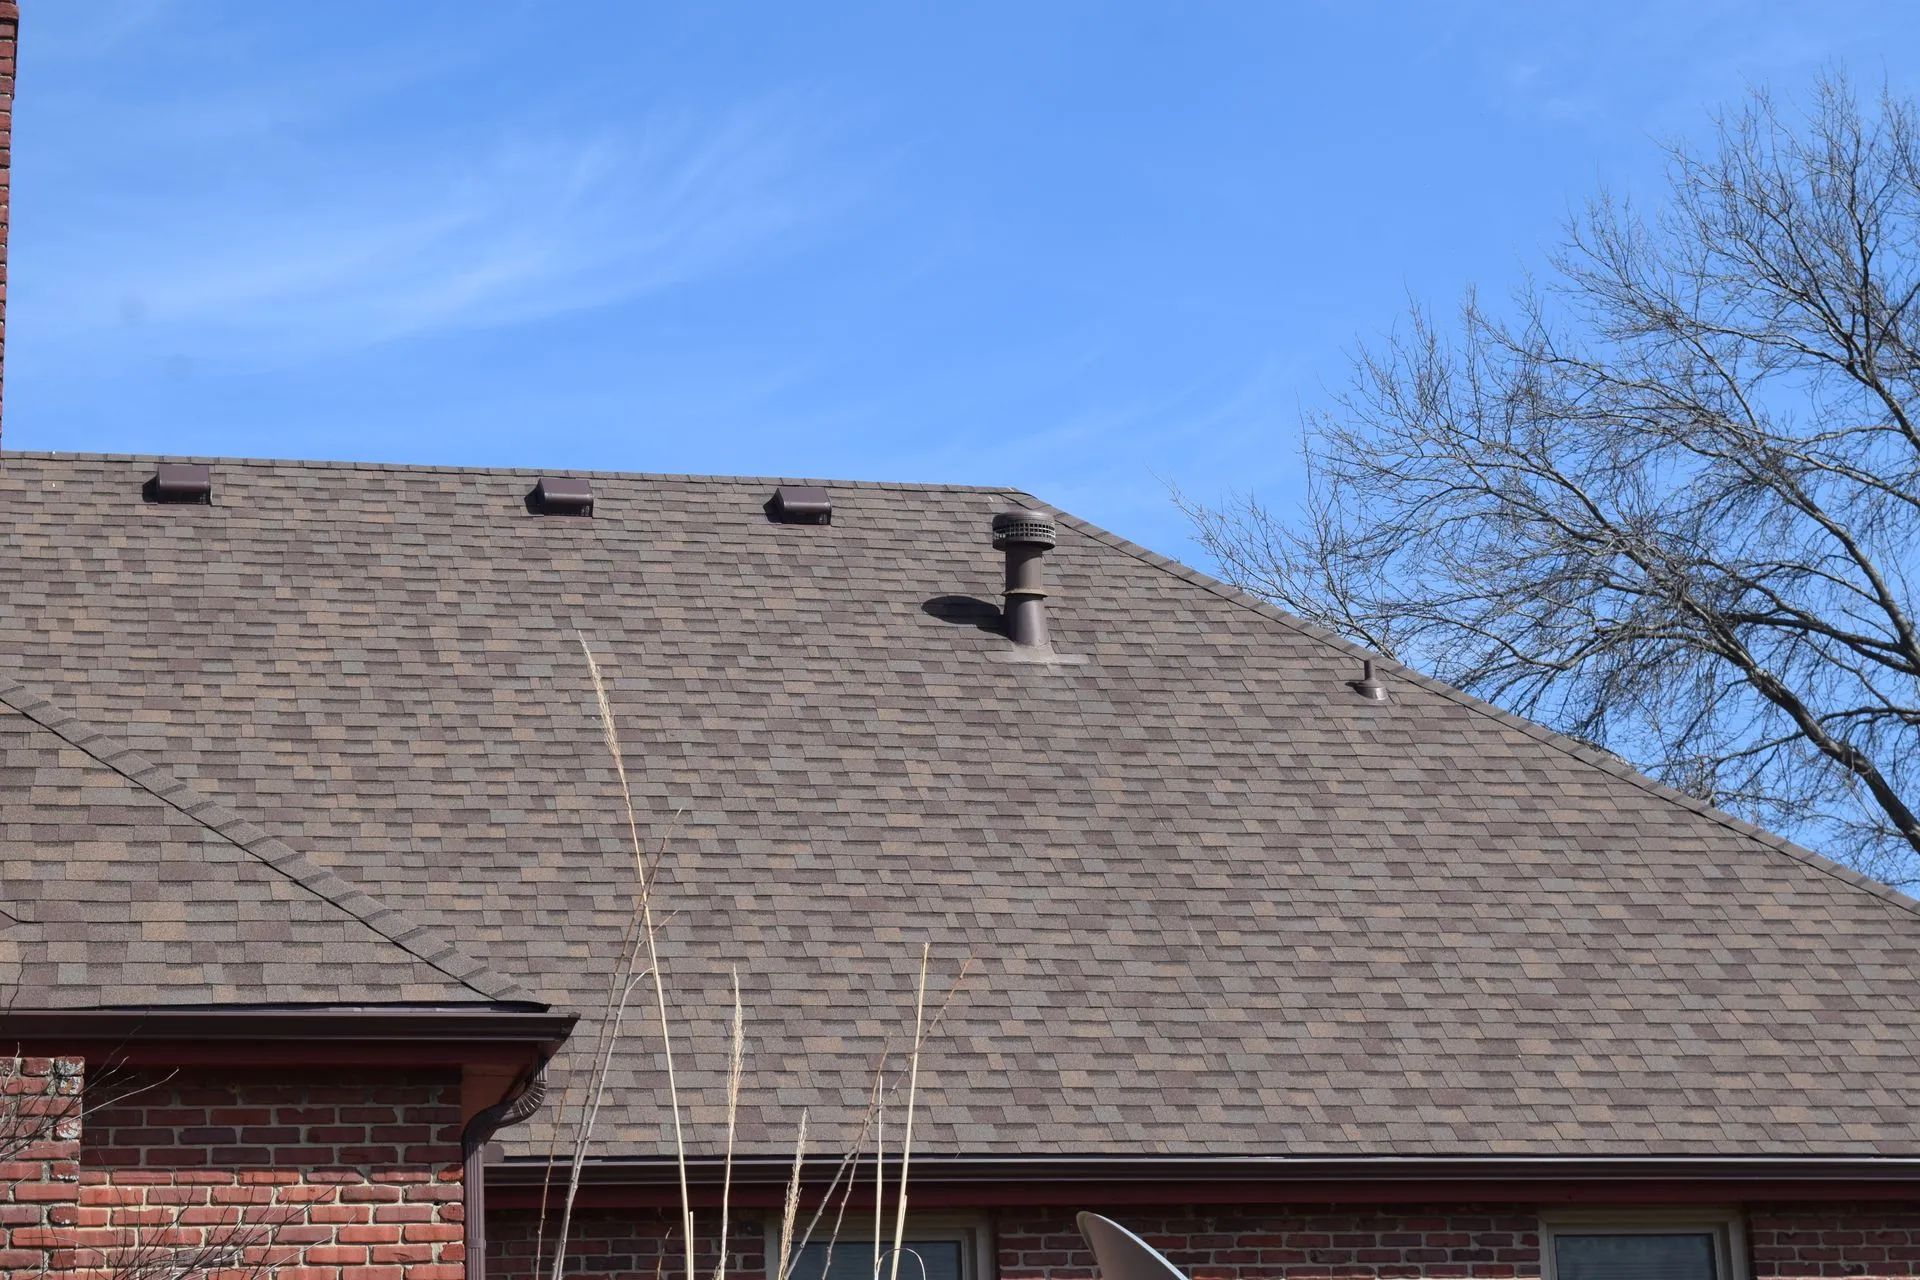
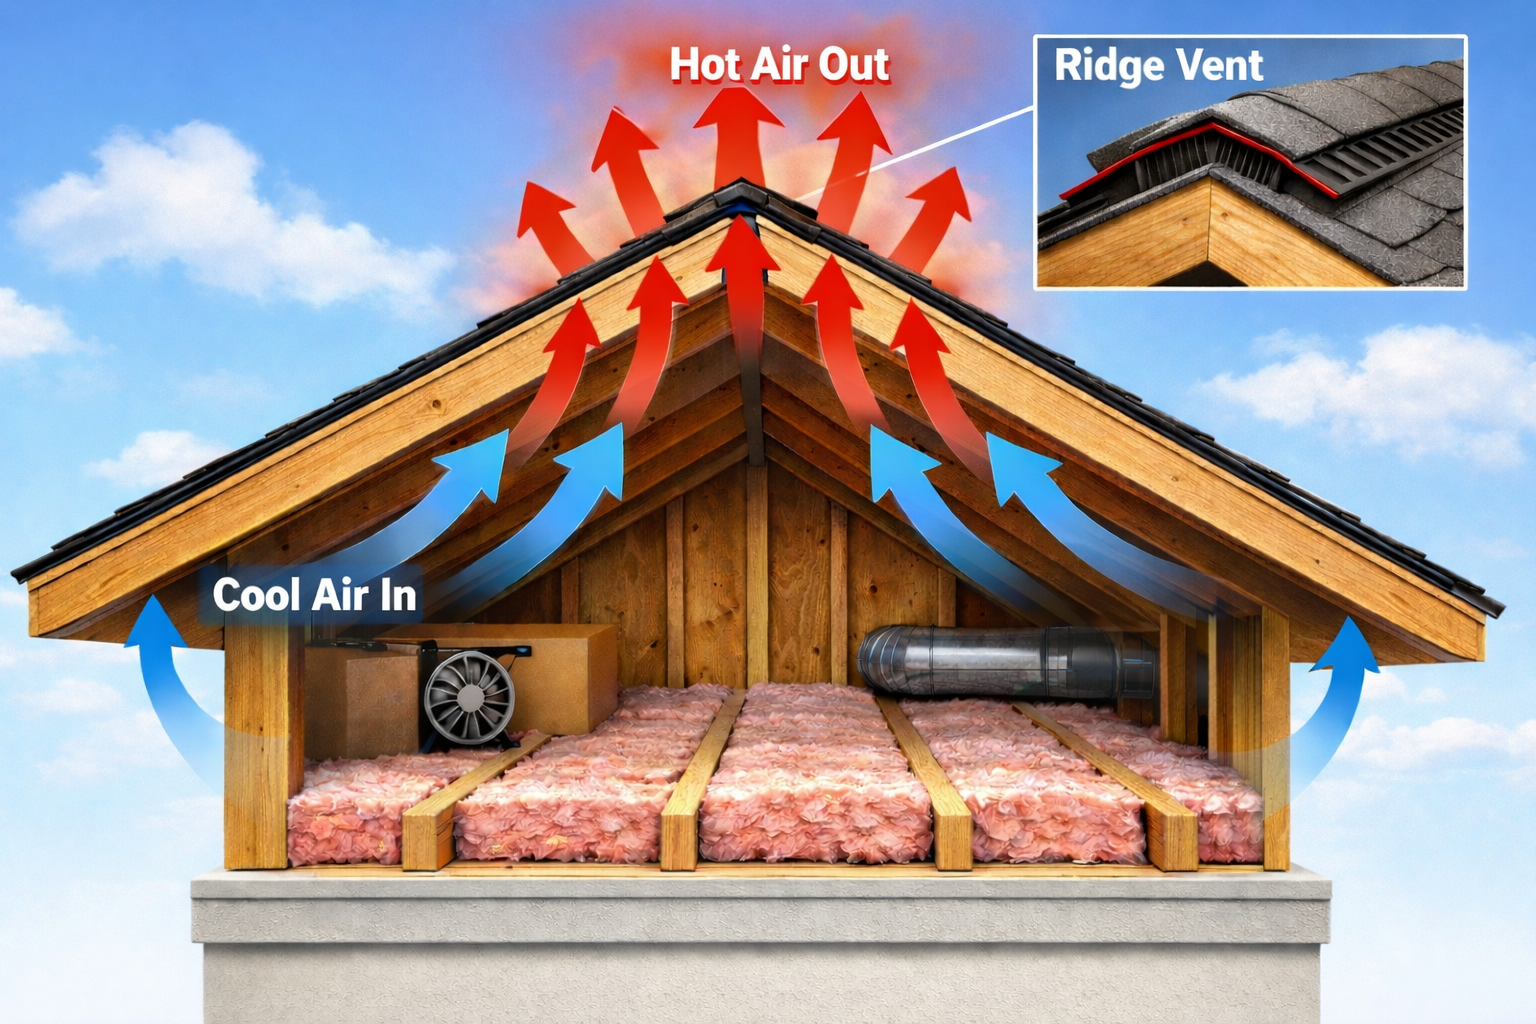
Roof ventilation involves the intake and exhaust vents system in your roof, allowing air to flow freely through your attic space. The intake vents are usually located at the soffits (under the eaves of your roof), and the exhaust vents are found at or near the roof's ridge. This continuous flow of air helps regulate temperature and moisture levels in your attic. Proper roof ventilation prevents hot air, moisture, and humidity from accumulating in your attic, which can lead to a host of issues, such as mold growth, wood rot, and increased energy costs.
How Roof Ventilation Affects Energy Efficiency
Now that we understand what roof ventilation is let's explore how it directly impacts your home's energy efficiency:
1. Regulates Temperature in the Attic
Your attic can get extremely hot in the summer months without proper ventilation due to trapped heat. This heat can then radiate into your living spaces, making your air conditioner work overtime to keep your home cool. On the flip side, in the winter, poor ventilation can cause warm air from your home to rise into the attic, where it can cool down, potentially leading to condensation issues. With a properly ventilated roof, hot air is exhausted in the summer, and warm air is kept from escaping in the winter. This helps maintain a stable and comfortable temperature in your home without putting excess strain on your HVAC system. As a result, your energy consumption and energy bills are reduced.
2. Prevents Ice Dams
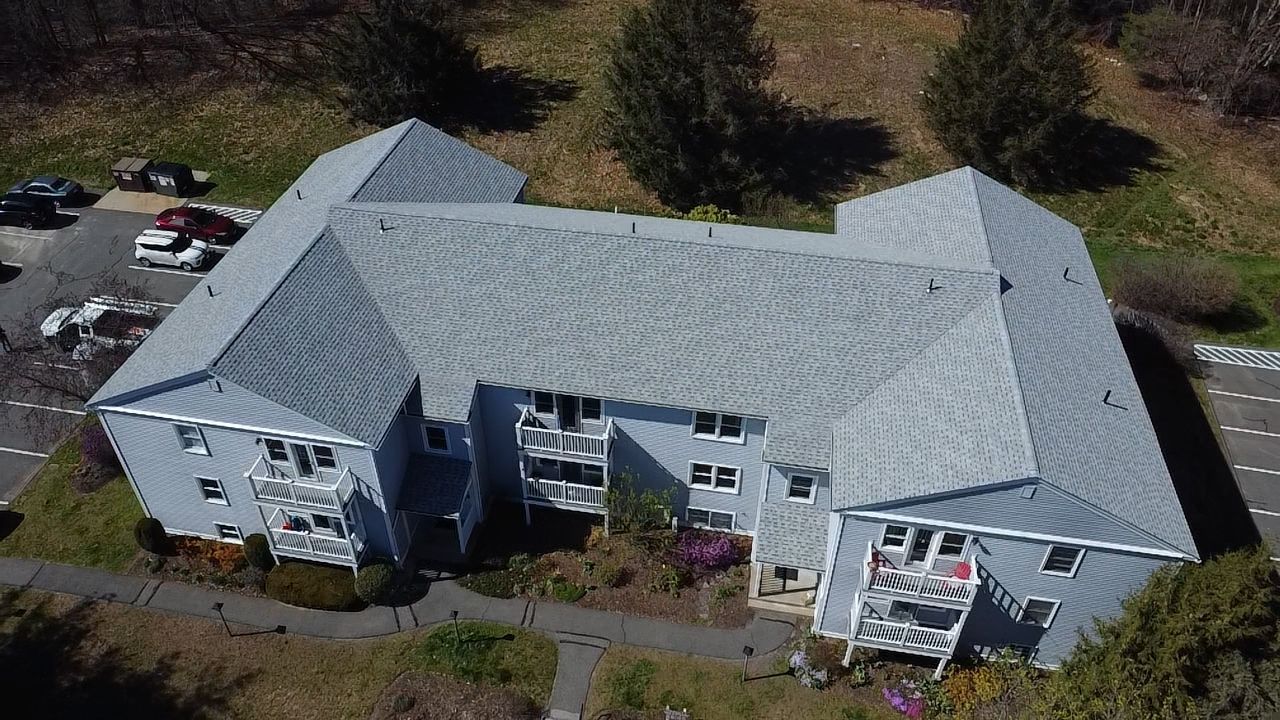
In cold climates, improper roof ventilation can contribute to the formation of ice dams. Ice dams occur when warm air inthe attic melts snow on the roof, causing the water to run down to the eaves, where it refreezes. This ice buildup can block water from draining off the roof properly, leading to leaks, roof damage, and potential water damage inside your home.
Proper ventilation helps to keep the attic temperature more even, preventing snow from melting. This helps protect your roof and gutters and prevents costly repairs and energy inefficiencies associated with ice dams.
3. Reduces Humidity and Moisture Buildup
Excess moisture in your attic is another factor that can drive up your home's energy costs. Moisture can accumulate from everyday activities like cooking, showering, or even breathing, and without adequate ventilation, it can lead to problems like mold, mildew, and wood rot. When this happens, your heating system may need to work harder to maintain a comfortable indoor climate, ultimately increasing energy use. A well-ventilated attic allows moisture to escape, maintaining a dry environment and ensuring your insulation remains effective. When your insulation is dry and intact, it performs better at regulating temperature, which helps keep your energy bills in check.
4. Improves Insulation Effectiveness
Proper attic ventilation and insulation go hand in hand. Insulation is meant to keep the desired temperature inside your home, but it can't perform at its best if there is excessive heat or moisture buildup in the attic. Proper ventilation helps ensure that your insulation stays dry and practical, improving your home's overall energy efficiency. In the winter, if your attic gets too warm, your insulation can lose its effectiveness in keeping your home warm. In the summer, inadequate ventilation can make your insulation less effective at keeping the heat out. So, ventilation and insulation must work together to create an energy-efficient barrier.
5. Enhances the Lifespan of Your Roof
Proper ventilation affects energy efficiency and extends the lifespan of your roof. By reducing moisture buildup, preventing ice dams, and reducing heat damage to roofing materials, a well-ventilated roof system ensures that your roof stays in good condition for longer, avoiding costly repairs or replacements.
Signs That Your Roof Ventilation Needs Attention
If you're noticing any of the following signs, it may be time to check your roof ventilation system:
Higher Energy Bills: If your cooling and heating costs are higher than expected, it could be due to poor attic ventilation.
- Hot Attic: A hot attic in the summer (more than 10-15 degrees higher than the outside temperature) may indicate inadequate ventilation.
- Moisture or Condensation in the Attic: If you see water droplets on your attic windows or walls or notice mold or mildew, your attic may be too humid.
- Ice Dams in Winter: If you've noticed ice dams forming on your roof during winter, it's a sign that your attic isn't properly ventilated.
- Sagging or Warping Roof Decking: Excessive heat and humidity can cause your roof decking to warp. This could be a result of poor ventilation.
How to Improve Your Roof's Ventilation
If you're concerned about your home's roof ventilation, here are a few steps you can take to improve it:
- Install Soffit Vents: These allow fresh air to enter the attic, promoting proper airflow.
- Add Ridge Vents: These vents allow hot air to escape from the attic, preventing heat buildup.
- Consider Attic Fans: In some cases, an attic fan can be added to help circulate air and maintain a steady flow of fresh air.
- Check Existing Vents: Ensure your intake and exhaust vents are unobstructed and functioning correctly.
We believe that roof ventilation is essential for maintaining an energy-efficient home. Proper ventilation helps your roof perform at its best by regulating temperature, reducing moisture, and preventing ice dams, keeping your home comfortable and your energy bills low.
If you suspect that your roof ventilation needs attention or want to ensure that your home is as energy-efficient as possible, contact us for a free roof inspection. Our team of experts will assess your attic ventilation system and provide recommendations to improve your home's overall energy efficiency.