Tips for Hanging Christmas Lights on Your Roof: A Roofing Company’s Guide to Safety and Success
decking out your home with beautiful Christmas lights?

The holiday season is upon us here in western Massachusetts, and what better way to spread cheer than by decking out your home with beautiful Christmas lights? However, when it comes to hanging lights on your roof, there are a few important factors to consider, safety being the most crucial. As a roofing company, we've seen firsthand how improper installation can lead to accidents or even costly roof damage.


To help you get your holiday display up safely and successfully, we've put together these tips for hanging holiday lights on your roof.


Inspect Your Roof Before You Start

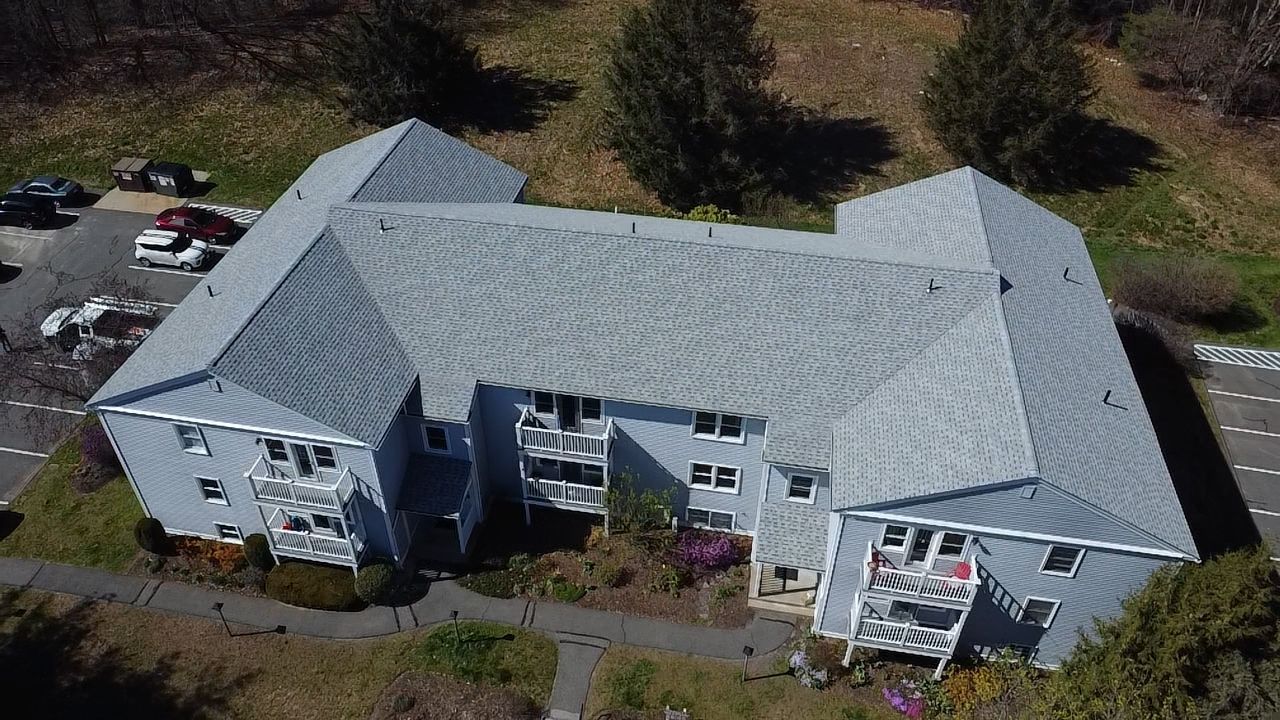
Before you climb up to hang lights, inspect your roof. Look for loose shingles, damaged gutters, or areas that could pose a risk during installation. If you notice any potential issues, it's best to address them before you try to hang lights. Damaged roofing materials or loose flashing can become even more problematic when handling wires or hooks.

Pro Tip: If you need clarification on the condition of your roof, consider having a professional inspection to ensure it's in good shape for the holidays.


Use the Right Tools and Equipment

Safety should always come first; having the right tools can make all the difference. When installing Christmas lights, you'll need:

Ladder: A sturdy ladder is essential for safely accessing your roof. Ensure it's tall enough to reach the eaves and securely positioned on level ground. Never lean your ladder against the gutters; they're not designed to bear weight.


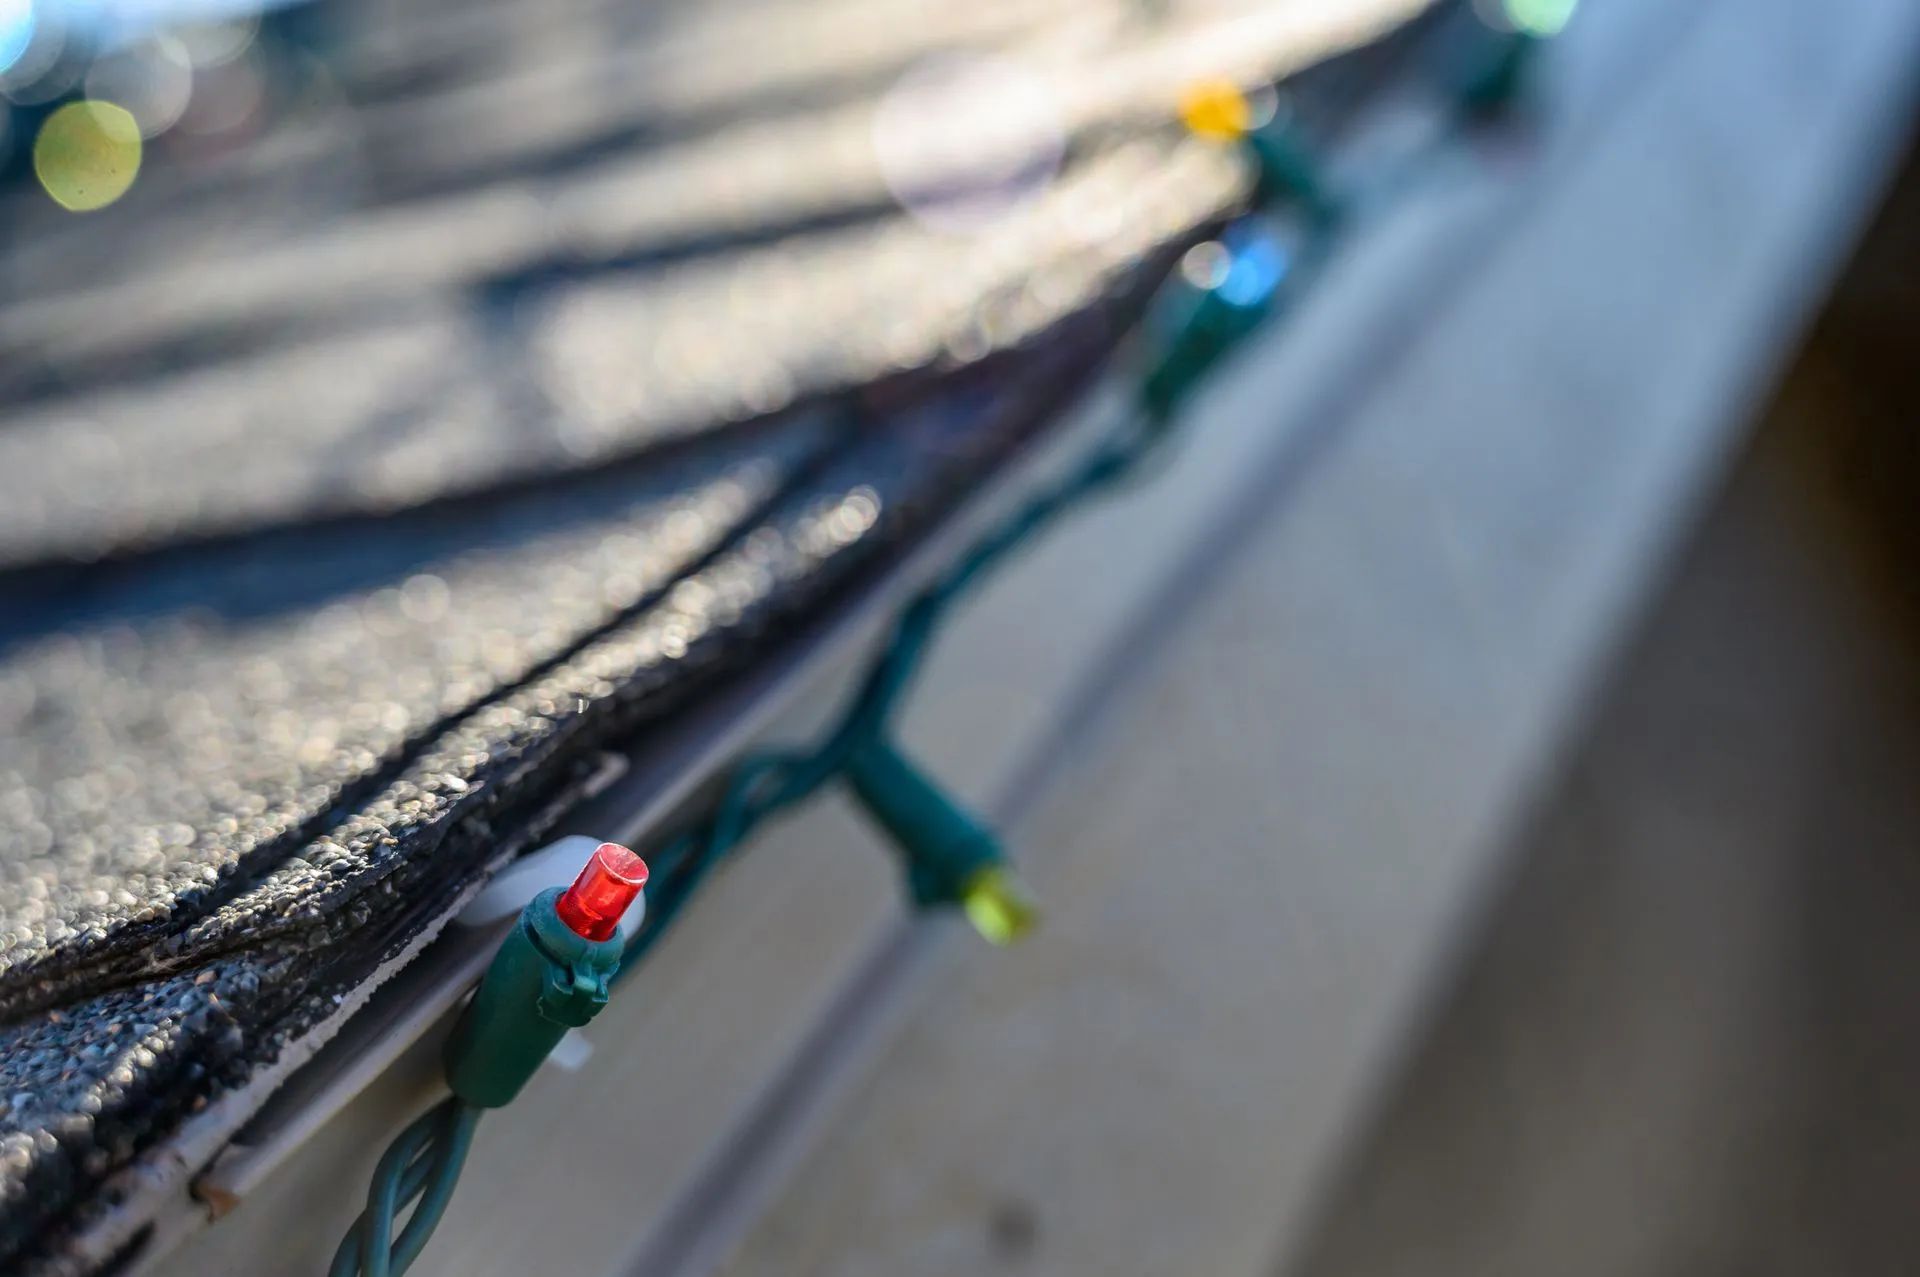
Christmas Light Clips: Avoid using nails, staples, or screws to attach lights to your roof. These can damage your shingles, which may lead to leaks. Instead, you can use specialized Christmas light clips that easily attach to the roof's edge or gutters without causing any harm.


Extension Cord: Ensure your extension cords are rated for outdoor use long enough to reach the nearest electrical outlet. This will keep you from needing to use excessive or unsafe cord extensions.


Safety Gear: If you are on a steep roof, consider wearing a safety harness or rope to secure yourself. Slips and falls are a leading cause of injury during the holidays, and a safety harness can provide peace of mind.


Plan Your Light Design Before You Start

Having a clear plan in mind will make the whole process easier. Decide in advance whether you want a simple outline of the roofline or a more intricate display that includes windows, doors, and trees. Measure the areas where you plan to place lights and choose lights that are the right length.


Pro Tip: Consider using LED lights, which are energy-efficient, long-lasting, and safer than traditional incandescent bulbs. They emit less heat and are less likely to overheat, reducing the fire risk.


Test Your Lights Before You Hang Them

Before you hang your Christmas lights, you can test each strand to make sure all bulbs work. This will save you time and frustration once you're on the roof. If a strand of lights is faulty, it's better to know beforehand than to find out halfway through the installation.


Take Your Time with Installation

When you're ready to hang your lights, take your time and don't rush. Start at one end of your roofline and work across, using your clips to secure the lights every few inches. Keep the lights tight enough, as this could cause them to snap or create tension that may damage them. Attach the lights securely, especially if you live in an area with strong winds or heavy snow. Consider using extra clips or zip ties in regions that experience higher winds or where the lights are incredibly long.


Avoid Damaging the Roof

One of the most common mistakes people make when hanging Christmas lights is damaging their roofs. To avoid this, NEVER use nails, staples, or screws to attach your lights. These can puncture your shingles, leading to water damage. Instead, opt for light clips designed for easy attachment and removal, which will not harm your roofing materials.

Pro Tip: If you have gutters, please make sure the lights are attached to the roofline and not directly to the gutters. Gutters are not designed to support the weight of Christmas lights, and the added strain could cause them to become detached.


Use a Timer for Convenience

Once your lights are up and running, you can use a timer to avoid the hassle of turning them on and off every night. Many outdoor timers allow you to set a specific time for your lights to turn on and off automatically, saving energy and effort.


Take Care of Your Lights After the Season

Once the holidays are over, carefully remove your lights and store them properly to avoid damage. When removing your lights, be gentle with the clips and wires, as yanking them off too forcefully could cause them to break or become tangled. Store the lights in a cool, dry place to ensure they stay in good condition for next year.


Consider Professional Help

Hiring a professional is always good if your roof is steep or high or you are uncomfortable with the installation process. Roofing companies often offer holiday light installation services to ensure everything is safely and securely set up. Professional installers have the experience, tools, and safety equipment to do the job efficiently and without risk.


Hanging Christmas lights on your roof can be a fun and festive activity, but it's essential to approach it with safety and care. By following these tips, you can ensure your home looks merry and bright while protecting your roof and avoiding unnecessary accidents. And remember, if you ever feel unsure, a professional roofing company can inspect the roof before and after. Happy holidays, and enjoy your beautifully lit home!

February 9, 2026
Have you ever had a roofer tell you your roof was installed incorrectly? Have you ever had a shingle fall off your roof, but your roof is less than 15 years old? How can a roof be installed incorrectly, and how can a roofer determine that? To answer that, let's talk first about how a shingle is created. Modern architectural shingles (shown here),
asphalt shingle
January 27, 2026
Have you ever wondered what an asphalt shingle is actually made of? No? Come on, just play along for a moment. You might be surprised by how helpful this is, especially when you’re talking to a roofer or trying to make decisions for your own home project. Who knows, maybe you’ll become a roofing expert one day! (Okay… probably not. But you will feel a lot more confident after this.) Let’s take a quick look at what goes into a typical architectural asphalt shingle. Each layer plays an important role: A fiberglass mat An asphalt coating Protective granules A sealant strip Now let’s break it down in a way that actually makes sense. 1. The Core: Fiberglass Mat At the heart of the shingle is the fiberglass mat—the foundation everything else attaches to. Think of it like the shingle’s skeleton. It gives the shingle its shape, strength, and flexibility so it can handle wind, movement, and the changing seasons. But while the fiberglass mat is strong, it can’t stop water on its own. That brings us to the next, and arguably most important, layer. 2. The Waterproofing: Asphalt Coating The fiberglass mat is coated with asphalt on both sides, creating a sort of asphalt “sandwich.” This is the true workhorse of the shingle. Asphalt delivers the waterproofing, protects against hail and debris, and holds everything else together. If the fiberglass is the skeleton, asphalt is the muscle. The only downside? Asphalt ages. Sunlight (especially UV rays) slowly breaks down the chemical binders, and daily temperature swings cause expansion and contraction. Over time, that leads to cracking. Fortunately, the next layer helps protect it. 3. UV Protection & Color: Granules Those colorful little granules on the surface aren’t just for looks. They’re crushed stone coated with ceramic pigments, and they act like sunscreen for the asphalt underneath. They absorb and deflect UV rays, dramatically slowing down the aging process. As a bonus, they give shingles their color. If you’ve ever cleaned your gutters and noticed those little rocks collecting at the bottom, those are the granules doing their thing. 4. The Sealant Strip On the underside of each shingle is a small strip of black sealant. It may look insignificant, but it’s one of the most important parts of the system. Once installed and warmed by the sun, this strip bonds the shingles together, helps seal the nails below, and creates a watertight, wind‑resistant layer. Small strip, huge impact. Here is a photo from the IKO website, www.iko.com 
January 3, 2026
Improve your home’s winter insulation in Western Massachusetts with energy-efficient windows that reduce drafts, heat loss, and heating costs.
Show More
February 9, 2026
Have you ever had a roofer tell you your roof was installed incorrectly? Have you ever had a shingle fall off your roof, but your roof is less than 15 years old? How can a roof be installed incorrectly, and how can a roofer determine that? To answer that, let's talk first about how a shingle is created. Modern architectural shingles (shown here),
asphalt shingle
January 27, 2026
Have you ever wondered what an asphalt shingle is actually made of? No? Come on, just play along for a moment. You might be surprised by how helpful this is, especially when you’re talking to a roofer or trying to make decisions for your own home project. Who knows, maybe you’ll become a roofing expert one day! (Okay… probably not. But you will feel a lot more confident after this.) Let’s take a quick look at what goes into a typical architectural asphalt shingle. Each layer plays an important role: A fiberglass mat An asphalt coating Protective granules A sealant strip Now let’s break it down in a way that actually makes sense. 1. The Core: Fiberglass Mat At the heart of the shingle is the fiberglass mat—the foundation everything else attaches to. Think of it like the shingle’s skeleton. It gives the shingle its shape, strength, and flexibility so it can handle wind, movement, and the changing seasons. But while the fiberglass mat is strong, it can’t stop water on its own. That brings us to the next, and arguably most important, layer. 2. The Waterproofing: Asphalt Coating The fiberglass mat is coated with asphalt on both sides, creating a sort of asphalt “sandwich.” This is the true workhorse of the shingle. Asphalt delivers the waterproofing, protects against hail and debris, and holds everything else together. If the fiberglass is the skeleton, asphalt is the muscle. The only downside? Asphalt ages. Sunlight (especially UV rays) slowly breaks down the chemical binders, and daily temperature swings cause expansion and contraction. Over time, that leads to cracking. Fortunately, the next layer helps protect it. 3. UV Protection & Color: Granules Those colorful little granules on the surface aren’t just for looks. They’re crushed stone coated with ceramic pigments, and they act like sunscreen for the asphalt underneath. They absorb and deflect UV rays, dramatically slowing down the aging process. As a bonus, they give shingles their color. If you’ve ever cleaned your gutters and noticed those little rocks collecting at the bottom, those are the granules doing their thing. 4. The Sealant Strip On the underside of each shingle is a small strip of black sealant. It may look insignificant, but it’s one of the most important parts of the system. Once installed and warmed by the sun, this strip bonds the shingles together, helps seal the nails below, and creates a watertight, wind‑resistant layer. Small strip, huge impact. Here is a photo from the IKO website, www.iko.com 
Show More