How to Spot Early Signs of Roof Damage Before Winter Ends
Winter in Western Massachusetts can be brutal at times on your roof

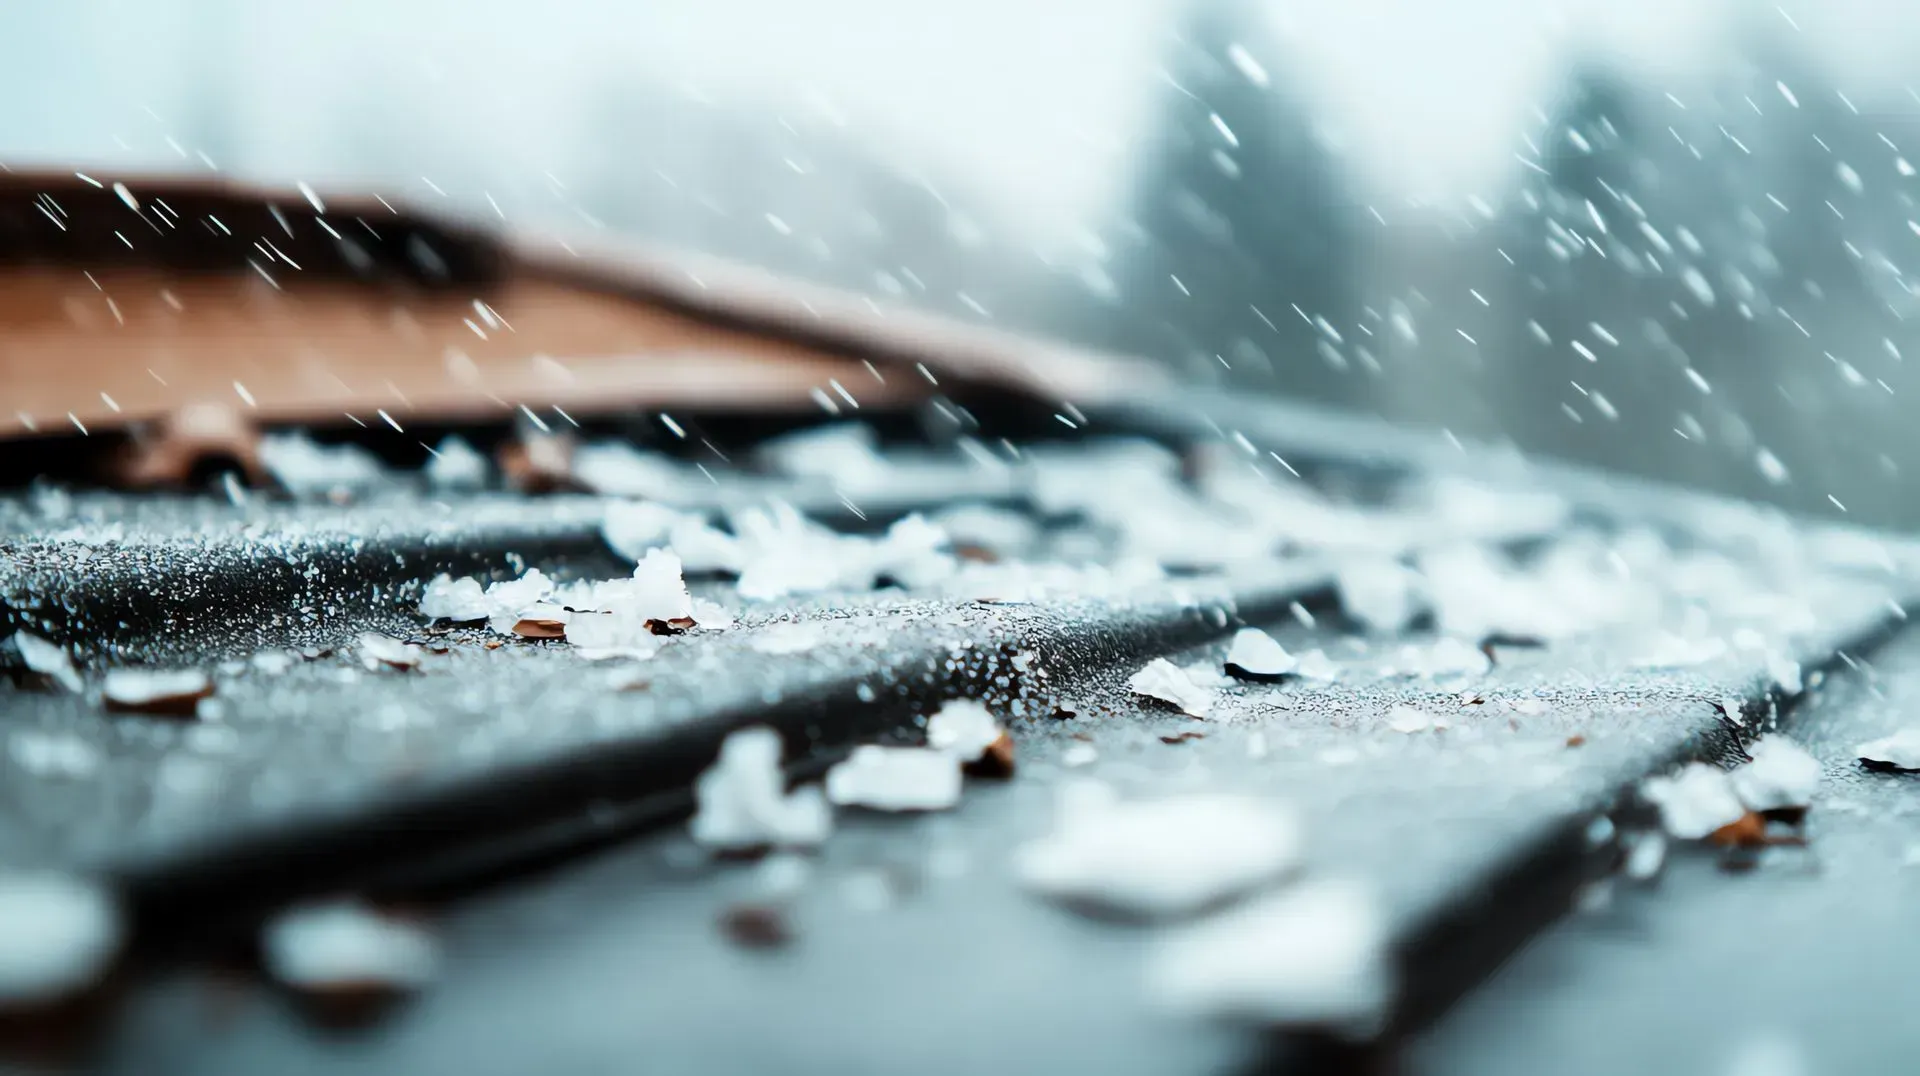
Winter in Western Massachusetts can be brutal at times. With heavy snow, ice, wind, and fluctuating temperatures, your roof is subjected to extreme conditions that can cause significant wear and tear. As we near the end of winter, inspecting your roof for any damage that may have occurred during the colder months is essential. Spotting early signs of damage can save you from costly repairs later on and help make sure your home remains safe and comfortable throughout the whole year.


Here’s a guide on how to spot early signs of roof damage before winter ends:


Inspect for Ice Dams

Ice dams are a common issue in Western Massachusetts, especially during winter. They form when snow melts on the warmer areas of your roof and then refreezes at the eaves, creating a barrier of ice. This can prevent water from draining properly, leading to leaks and damage in your home.


How to Spot It:

  • Look for icicles hanging from the edges of your roof.
  • Check your attic for any signs of water stains or dampness, which could indicate melting snow has leaked through the roof.


If you suspect you have an ice dam, addressing it as soon as possible is crucial to prevent further damage. A professional roofing company can help remove the ice dam and address the underlying issues.


Check for Missing, Cracked, or Curling Shingles

Winter storms, heavy snow, and strong winds can damage or dislodge shingles. Missing, cracked, or curling shingles can compromise the integrity of your roof and lead to leaks when it rains during the spring.


How to Spot It:

  • Inspect your roof from the ground safely. Look for any noticeable gaps or areas where shingles are missing.
  • Check for curled edges or cracks in the shingles, which can be caused by age or exposure to the elements.


If you notice any of these signs, it is best to have a roofing professional inspect your roof in person to determine whether a repair or replacement is needed.


Examine the Flashing Around Chimneys and Vents

Flashing is the metal material that seals joints around chimneys, vents, and skylights to prevent water from seeping underneath the roof. Winter storms, ice, and snow can weaken the flashing, causing it to loosen or crack, which can lead to leaks.


How to Spot It:

  • Safely look for any visible gaps, rust, or cracks around your chimney, vents, or skylights.
  • If you notice any of these signs, there’s a risk that water could be getting into your home.
  • Flashing damage is often tricky to spot from the ground, so if you suspect an issue, have a professional roofing contractor inspect the area.


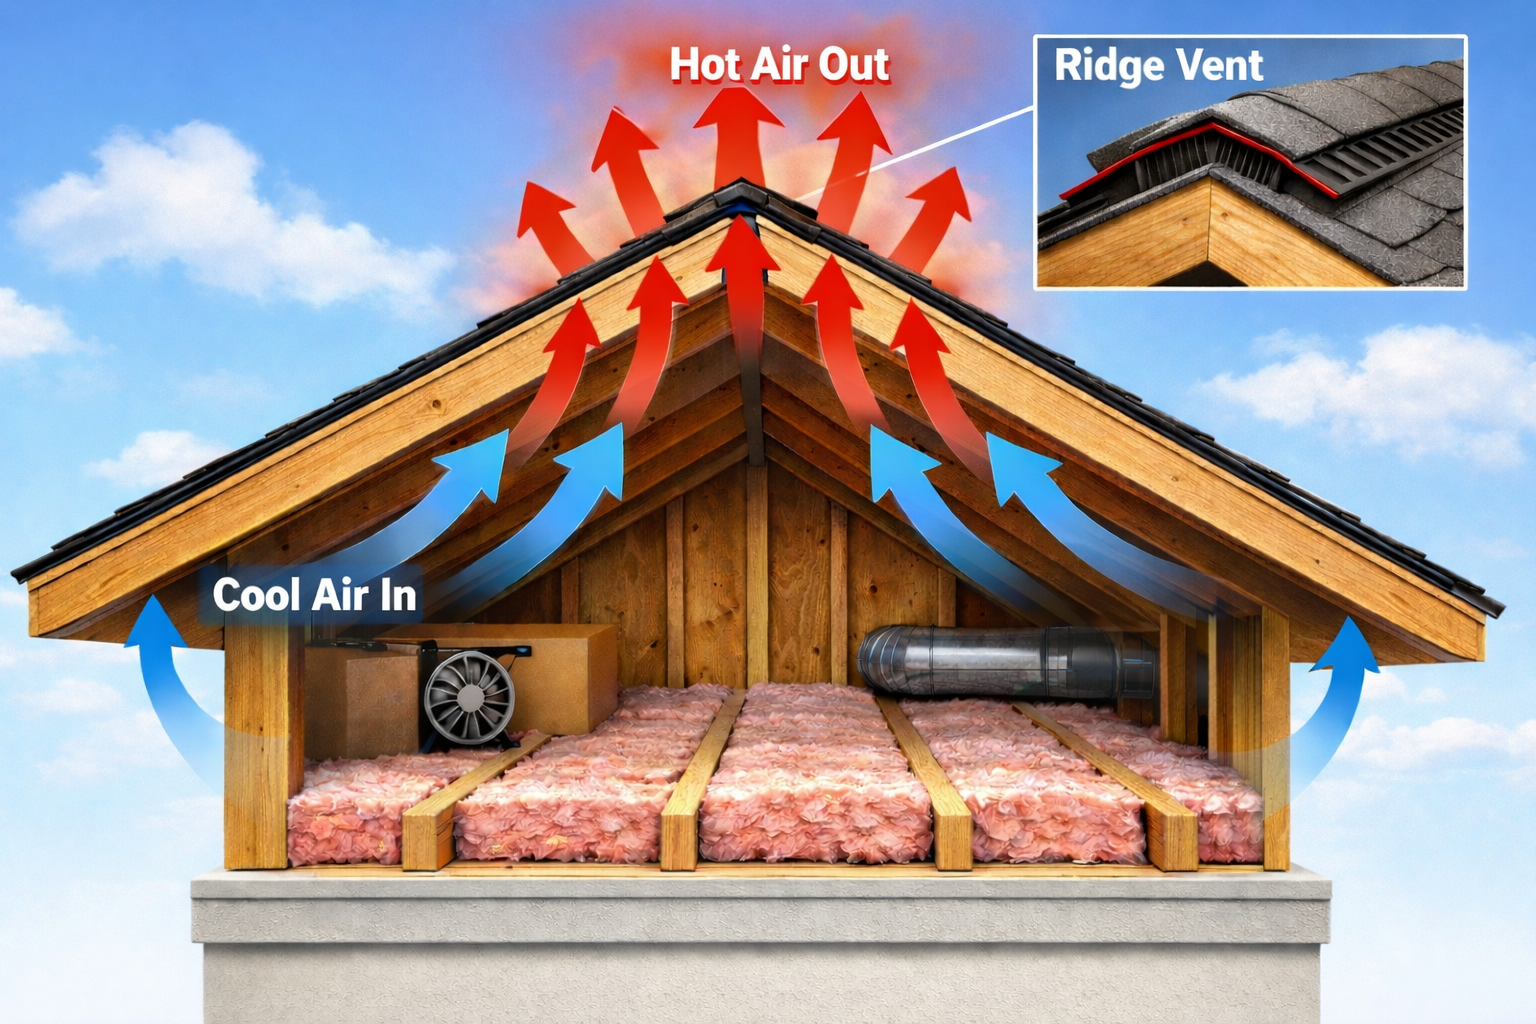
Inspect for Signs of Water Leaks in Your Attic or Ceiling

If your roof has suffered any damage during the winter, water could be seeping into your attic or ceilings. If not addressed promptly, this can cause mold growth, insulation damage, and even structural issues.


How to Spot It:

  • Check your attic for signs of moisture, water stains, or mold. A musty odor or damp insulation can also indicate a leak.
  • Look for ceiling stains, bubbling paint, or sagging areas indicating water infiltration inside your home.
  • If you notice any of these signs, it is essential to address the issue immediately before it leads to more severe damage.


Look for Signs of Roof Sagging

A sagging roof can result from ice or snow buildup, which puts extra weight on your roof structure. If not dealt with promptly, a sagging roof could lead to more significant structural problems or even a collapse in extreme cases.


How to Spot It:

  • From the ground, look at your roofline. Does it appear to sag or dip in certain areas?
  • If you can safely access your attic, check for signs of sagging beams or support structures.
  • If you notice any signs of sagging, contact a roofing professional immediately to prevent further damage.


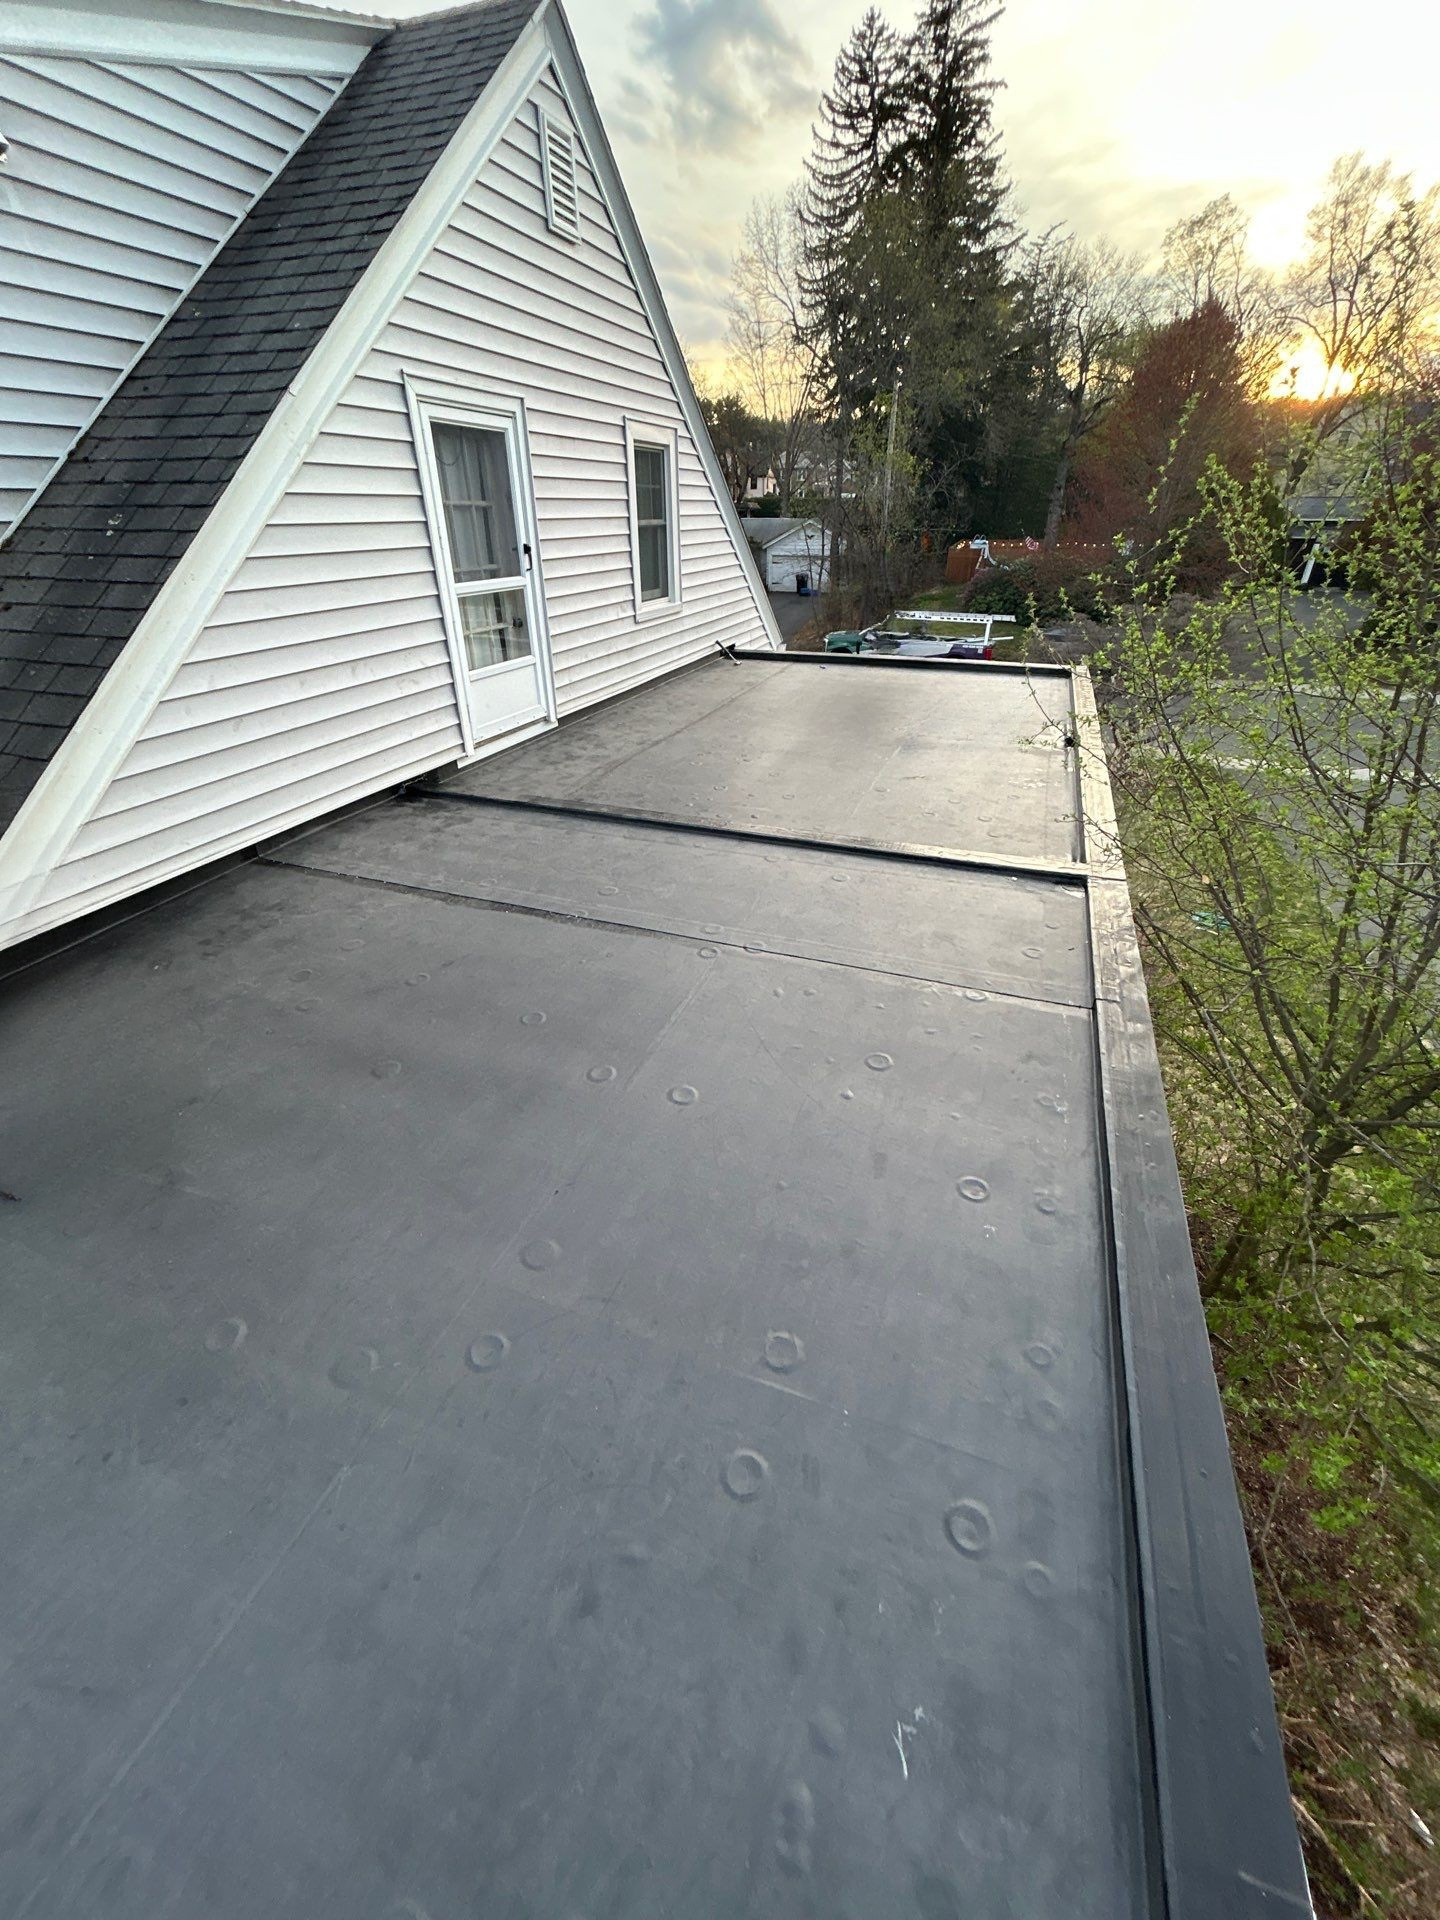
Assess the Condition of Your Gutters

Gutters are important in redirecting water away from your roof and foundation. During winter, gutters can become clogged with debris, ice, and snow, causing water to back up and leak into your home.


How to Spot It:

  • Inspect your gutters for visible damage, such as cracks, sagging, or loose sections.
  • If you notice water pooling around your foundation or along your roofline, it may be a sign that your gutters are clogged or damaged.
  • Cleaning and repairing your gutters before the end of winter can help prevent water damage as spring thaw sets in.


Check for Moss or Algae Growth

Moss and algae can grow on your roof, especially in shaded areas, and cause long-term damage if left unchecked. While this may not be a significant concern in the short term, it can accelerate the deterioration of shingles and underlayment over time.


How to Spot It:

  • Look for greenish or dark streaks on your roof, especially on the north-facing side, which tends to stay shaded longer.
  • If you notice moss buildup, it’s a good idea to have your roof cleaned to prevent further damage.


Winter’s harsh conditions can take a toll on your roof, but knowing what to look for can catch early signs of damage before they become bigger issues. If you notice any of the above signs or suspect your roof has sustained damage during the winter, you must call a professional roofing contractor to assess the situation.


At Sexton Roofing & Siding, we specialize in roof repairs and inspections in Western Massachusetts. Our experienced team can help identify and address any issues before they escalate, ensuring your home is safe, dry, and protected for the rest of the year. Don’t wait until spring to address winter damage—call us today to schedule a roof inspection. 413-532-1234.


Stay safe and dry, and keep your roof in shape with Sexton Roofing & Siding

February 9, 2026
Have you ever had a roofer tell you your roof was installed incorrectly? Have you ever had a shingle fall off your roof, but your roof is less than 15 years old? How can a roof be installed incorrectly, and how can a roofer determine that? To answer that, let's talk first about how a shingle is created. Modern architectural shingles (shown here),
asphalt shingle
January 27, 2026
Have you ever wondered what an asphalt shingle is actually made of? No? Come on, just play along for a moment. You might be surprised by how helpful this is, especially when you’re talking to a roofer or trying to make decisions for your own home project. Who knows, maybe you’ll become a roofing expert one day! (Okay… probably not. But you will feel a lot more confident after this.) Let’s take a quick look at what goes into a typical architectural asphalt shingle. Each layer plays an important role: A fiberglass mat An asphalt coating Protective granules A sealant strip Now let’s break it down in a way that actually makes sense. 1. The Core: Fiberglass Mat At the heart of the shingle is the fiberglass mat—the foundation everything else attaches to. Think of it like the shingle’s skeleton. It gives the shingle its shape, strength, and flexibility so it can handle wind, movement, and the changing seasons. But while the fiberglass mat is strong, it can’t stop water on its own. That brings us to the next, and arguably most important, layer. 2. The Waterproofing: Asphalt Coating The fiberglass mat is coated with asphalt on both sides, creating a sort of asphalt “sandwich.” This is the true workhorse of the shingle. Asphalt delivers the waterproofing, protects against hail and debris, and holds everything else together. If the fiberglass is the skeleton, asphalt is the muscle. The only downside? Asphalt ages. Sunlight (especially UV rays) slowly breaks down the chemical binders, and daily temperature swings cause expansion and contraction. Over time, that leads to cracking. Fortunately, the next layer helps protect it. 3. UV Protection & Color: Granules Those colorful little granules on the surface aren’t just for looks. They’re crushed stone coated with ceramic pigments, and they act like sunscreen for the asphalt underneath. They absorb and deflect UV rays, dramatically slowing down the aging process. As a bonus, they give shingles their color. If you’ve ever cleaned your gutters and noticed those little rocks collecting at the bottom, those are the granules doing their thing. 4. The Sealant Strip On the underside of each shingle is a small strip of black sealant. It may look insignificant, but it’s one of the most important parts of the system. Once installed and warmed by the sun, this strip bonds the shingles together, helps seal the nails below, and creates a watertight, wind‑resistant layer. Small strip, huge impact. Here is a photo from the IKO website, www.iko.com 
January 3, 2026
Improve your home’s winter insulation in Western Massachusetts with energy-efficient windows that reduce drafts, heat loss, and heating costs.
Show More
February 9, 2026
Have you ever had a roofer tell you your roof was installed incorrectly? Have you ever had a shingle fall off your roof, but your roof is less than 15 years old? How can a roof be installed incorrectly, and how can a roofer determine that? To answer that, let's talk first about how a shingle is created. Modern architectural shingles (shown here),
asphalt shingle
January 27, 2026
Have you ever wondered what an asphalt shingle is actually made of? No? Come on, just play along for a moment. You might be surprised by how helpful this is, especially when you’re talking to a roofer or trying to make decisions for your own home project. Who knows, maybe you’ll become a roofing expert one day! (Okay… probably not. But you will feel a lot more confident after this.) Let’s take a quick look at what goes into a typical architectural asphalt shingle. Each layer plays an important role: A fiberglass mat An asphalt coating Protective granules A sealant strip Now let’s break it down in a way that actually makes sense. 1. The Core: Fiberglass Mat At the heart of the shingle is the fiberglass mat—the foundation everything else attaches to. Think of it like the shingle’s skeleton. It gives the shingle its shape, strength, and flexibility so it can handle wind, movement, and the changing seasons. But while the fiberglass mat is strong, it can’t stop water on its own. That brings us to the next, and arguably most important, layer. 2. The Waterproofing: Asphalt Coating The fiberglass mat is coated with asphalt on both sides, creating a sort of asphalt “sandwich.” This is the true workhorse of the shingle. Asphalt delivers the waterproofing, protects against hail and debris, and holds everything else together. If the fiberglass is the skeleton, asphalt is the muscle. The only downside? Asphalt ages. Sunlight (especially UV rays) slowly breaks down the chemical binders, and daily temperature swings cause expansion and contraction. Over time, that leads to cracking. Fortunately, the next layer helps protect it. 3. UV Protection & Color: Granules Those colorful little granules on the surface aren’t just for looks. They’re crushed stone coated with ceramic pigments, and they act like sunscreen for the asphalt underneath. They absorb and deflect UV rays, dramatically slowing down the aging process. As a bonus, they give shingles their color. If you’ve ever cleaned your gutters and noticed those little rocks collecting at the bottom, those are the granules doing their thing. 4. The Sealant Strip On the underside of each shingle is a small strip of black sealant. It may look insignificant, but it’s one of the most important parts of the system. Once installed and warmed by the sun, this strip bonds the shingles together, helps seal the nails below, and creates a watertight, wind‑resistant layer. Small strip, huge impact. Here is a photo from the IKO website, www.iko.com 
Show More