How Storm Damage Can Affect Your Roof: What to Do Next

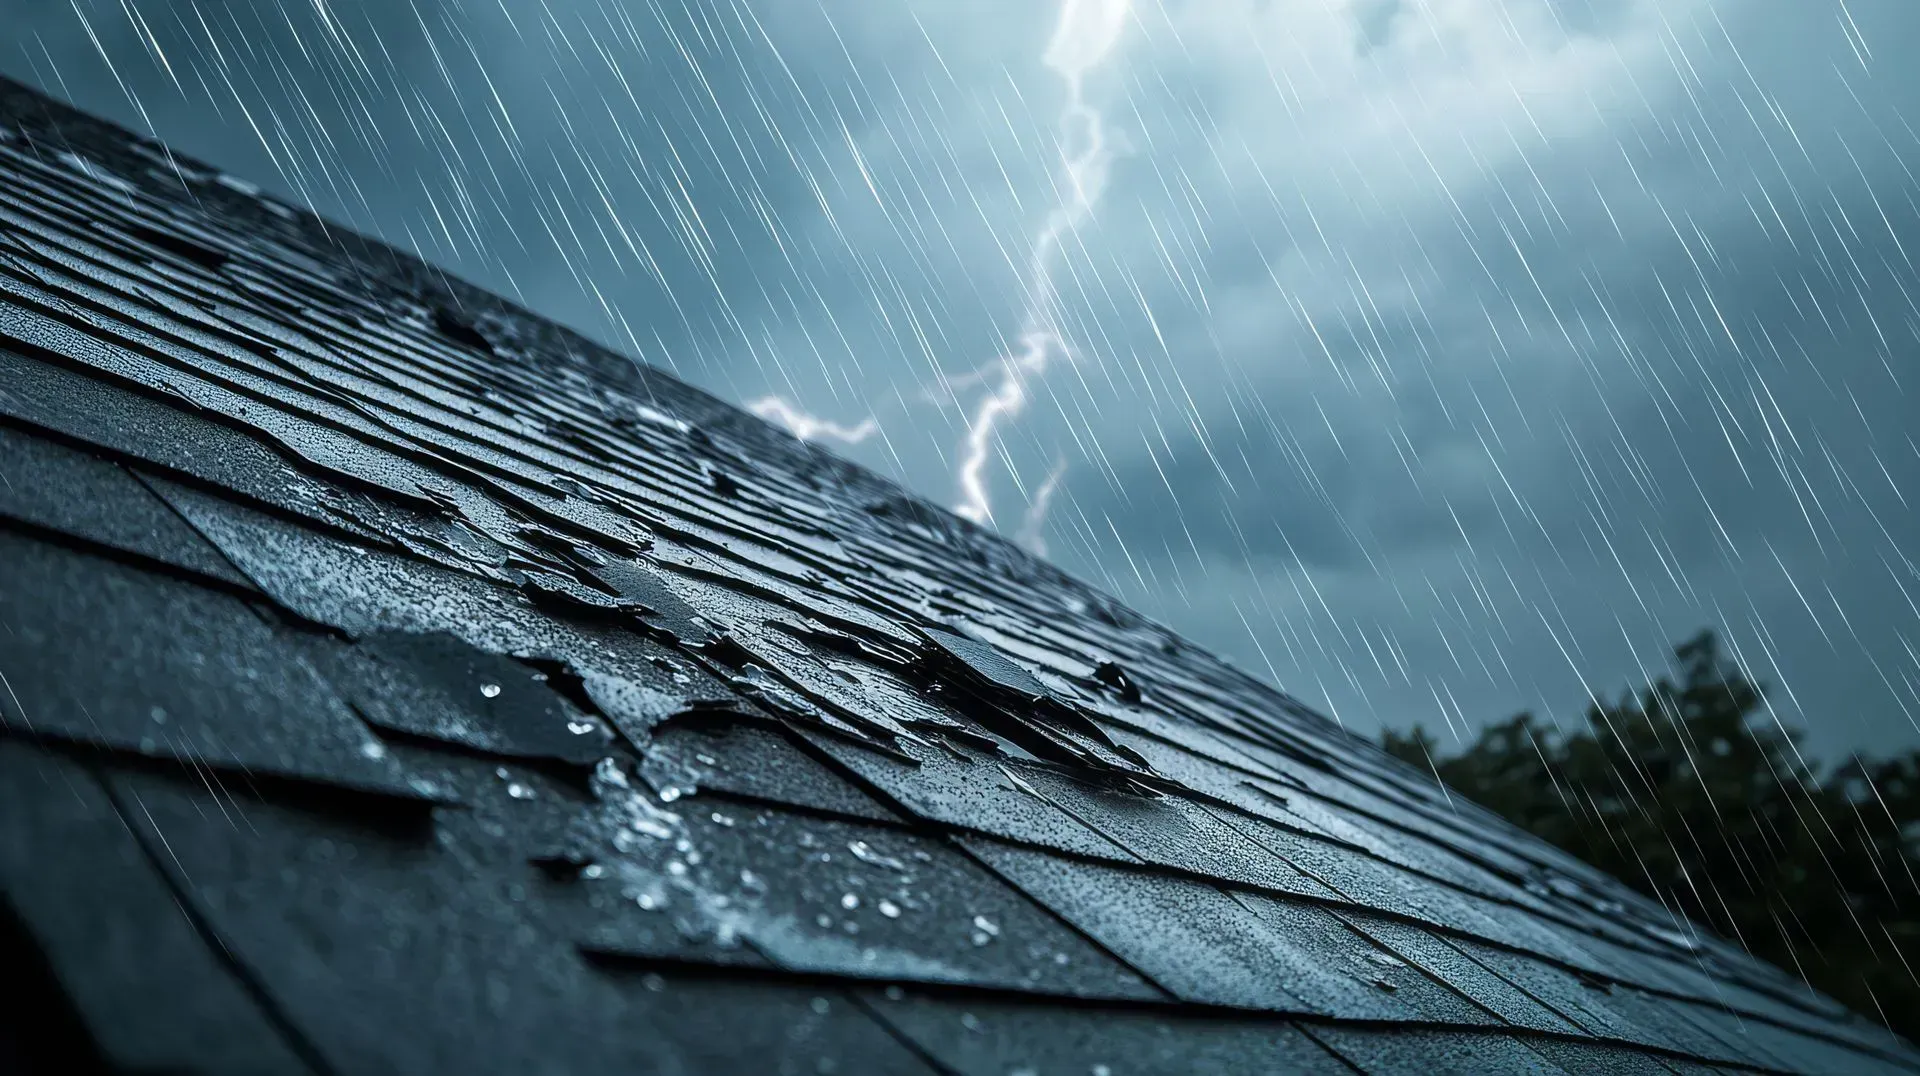
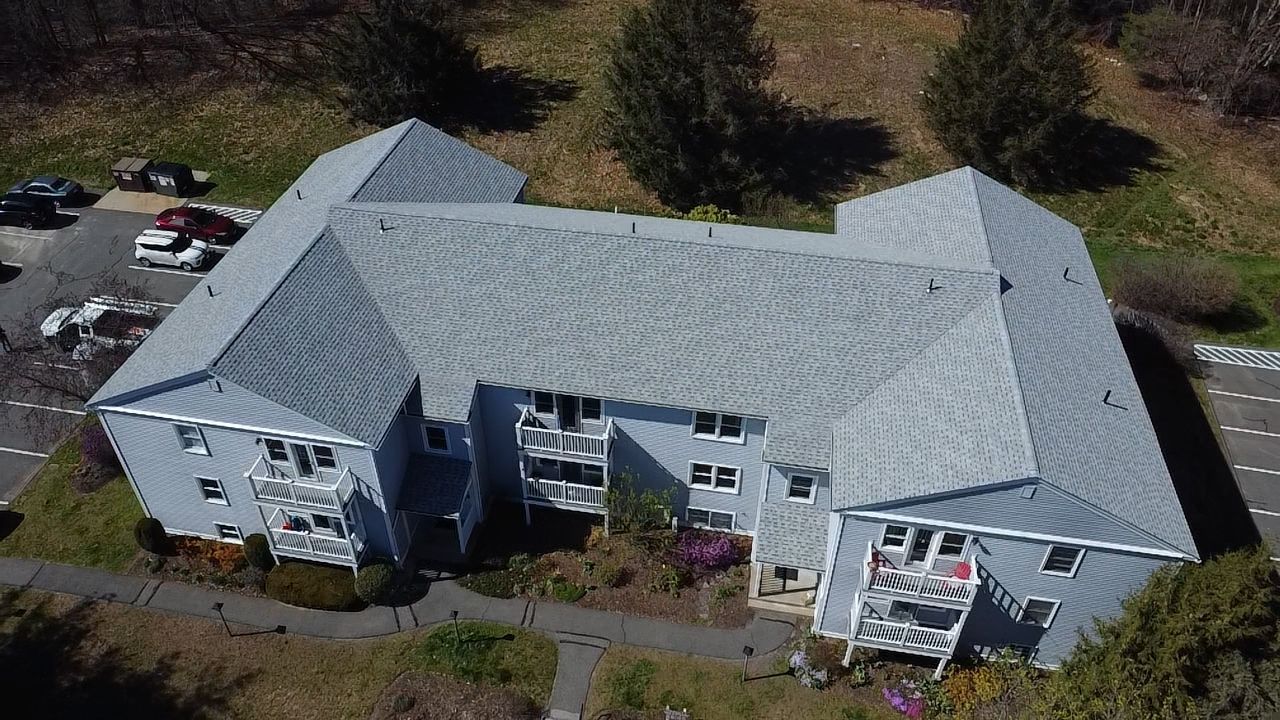
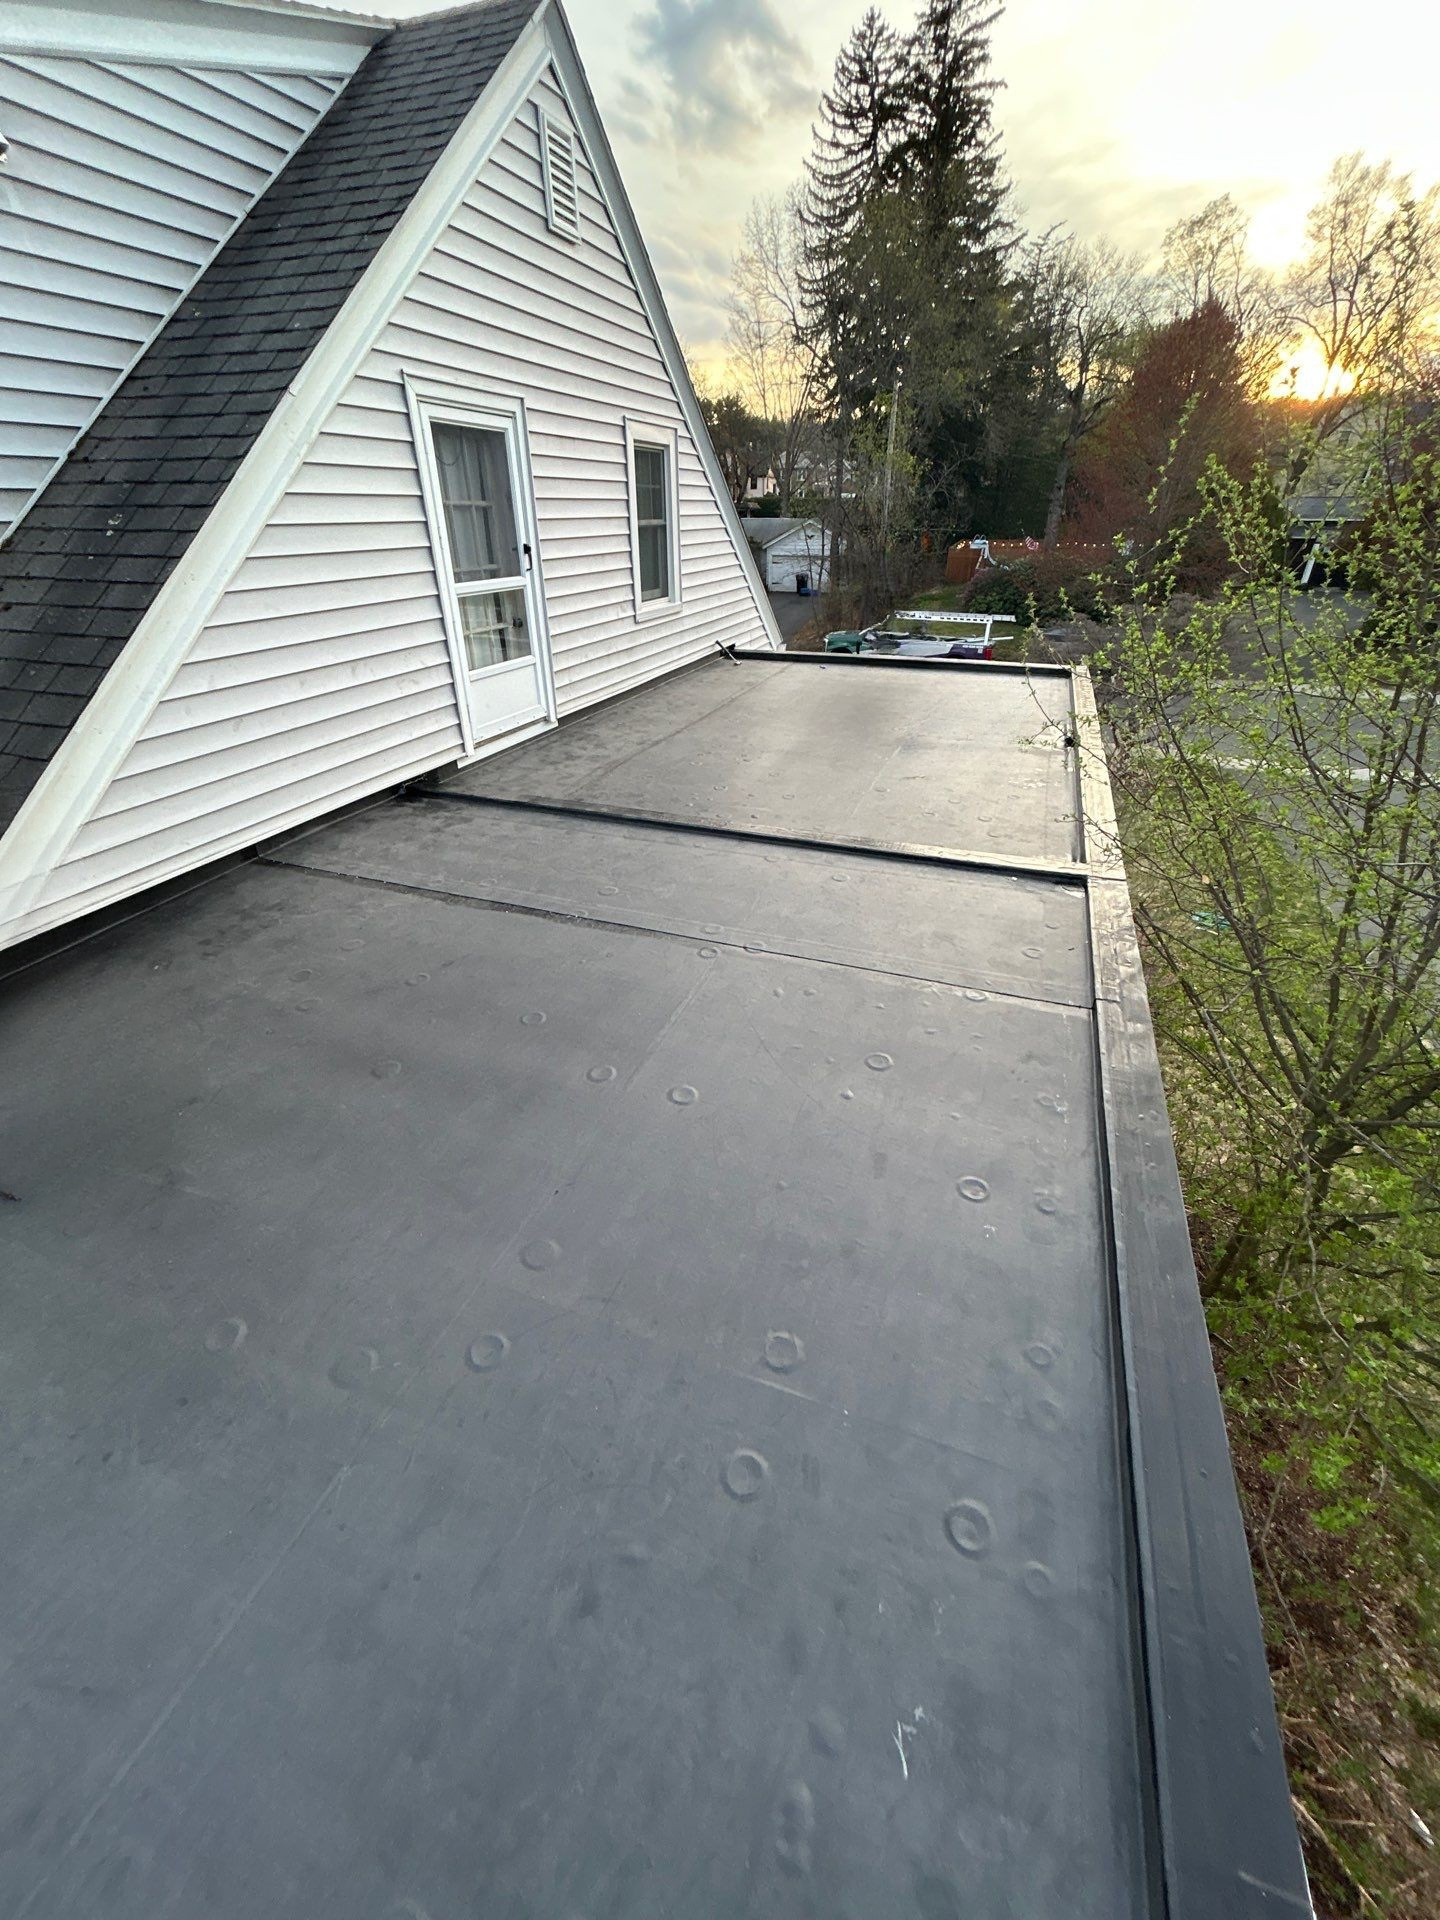
At Sexton Roofing & Siding, we understand how unpredictable New England weather can be—especially here in western Massachusetts. From strong winds and heavy rain to hail and snowstorms, Mother Nature can take a serious toll on your roof. If your home has recently experienced a storm, it’s essential to assess the damage and take immediate steps to protect your property.


In this blog, we’ll walk you through how storm damage can impact your roof, the warning signs to look for, and what to do next.


How Storms Can Damage Your Roof

Different types of storms can cause various kinds of damage to your roof. Here’s what to watch for:

  1. Wind Damage: High winds can lift or tear away shingles, exposing the underlying layers of your roof to the elements. If left unaddressed, this can lead to leaks and long-term structural issues.
  2. Hail Damage: Hail can cause dents, cracks, and granule loss on shingles, reducing their effectiveness and lifespan. Even small hailstones can weaken your roof’s protective layer, leading to potential leaks.
  3. Heavy Rain & Water Damage: Excessive rainfall can exploit any weaknesses in your roof, seeping into cracks and causing leaks. If water infiltrates your attic, it can lead to mold growth and structural damage.
  4. Snow & Ice Damage: Western Massachusetts winters can be brutal. Snow accumulation can add excessive weight to your roof, and ice dams can block proper drainage, causing water to back up under the shingles.
  5. Falling Debris: During storms, tree branches, limbs, or even entire trees can fall onto your roof, causing immediate and severe damage. Even smaller debris, like twigs and leaves, can clog gutters and downspouts, leading to water buildup.


What to Do After Storm Damage

If you suspect your roof has been damaged in a storm, acting quickly can help prevent further issues. Here’s what to do:

  1. 1Assess the Damage (Safely): Once the storm has passed, carefully inspect your roof from the ground using binoculars. Look for missing shingles, dents, or any obvious signs of damage. Check your attic for leaks, water stains, or damp insulation.
  2. Document the Damage: Take clear photos and videos of any visible damage. This documentation will be helpful when filing an insurance claim and working with roofing professionals.
  3. Contact Your Insurance Provider: If the damage is significant, reach out to your homeowner’s insurance company as soon as possible. They will guide you through the claims process and may send an adjuster to inspect your roof.
  4. Schedule a Professional Roof Inspection: Even if the damage isn’t immediately visible, it’s always a good idea to have a professional roofer assess your roof. At Sexton Roofing & Siding, we offer expert storm damage inspections and can provide a detailed report on any necessary repairs.
  5. Make Temporary Repairs (If Needed): If you notice active leaks or exposed areas, cover them with a tarp to prevent further water damage. However, if you have a tall or steep roof avoid climbing on your roof yourself—leave that to the professionals.
  6. Plan for Repairs or Replacement: Based on the inspection, you may need roof repairs or, in severe cases, a full replacement. Our team at Sexton Roofing & Siding is ex;erienced in storm damage repairs and will work with you to restore your roof efficiently and affordably.


Why Choose Sexton Roofing & Siding?

We understand the challenges that New England weather brings and are committed to providing top-quality roofing services, from minor repairs to full roof replacements.

  • Experienced, Local Team
  • Insurance Claim Assistance
  • High-Quality Materials & Workmanship
  • Fast, Reliable Service


If your roof has suffered storm damage, don’t wait—protect your home today! Contact Sexton Roofing & Siding for a free inspection and let us help you restore your roof with confidence.


Call us at 413-534-1234 or contact us here.

asphalt shingle
January 27, 2026
Have you ever wondered what an asphalt shingle is actually made of? No? Come on, just play along for a moment. You might be surprised by how helpful this is, especially when you’re talking to a roofer or trying to make decisions for your own home project. Who knows, maybe you’ll become a roofing expert one day! (Okay… probably not. But you will feel a lot more confident after this.) Let’s take a quick look at what goes into a typical architectural asphalt shingle. Each layer plays an important role: A fiberglass mat An asphalt coating Protective granules A sealant strip Now let’s break it down in a way that actually makes sense. 1. The Core: Fiberglass Mat At the heart of the shingle is the fiberglass mat—the foundation everything else attaches to. Think of it like the shingle’s skeleton. It gives the shingle its shape, strength, and flexibility so it can handle wind, movement, and the changing seasons. But while the fiberglass mat is strong, it can’t stop water on its own. That brings us to the next, and arguably most important, layer. 2. The Waterproofing: Asphalt Coating The fiberglass mat is coated with asphalt on both sides, creating a sort of asphalt “sandwich.” This is the true workhorse of the shingle. Asphalt delivers the waterproofing, protects against hail and debris, and holds everything else together. If the fiberglass is the skeleton, asphalt is the muscle. The only downside? Asphalt ages. Sunlight (especially UV rays) slowly breaks down the chemical binders, and daily temperature swings cause expansion and contraction. Over time, that leads to cracking. Fortunately, the next layer helps protect it. 3. UV Protection & Color: Granules Those colorful little granules on the surface aren’t just for looks. They’re crushed stone coated with ceramic pigments, and they act like sunscreen for the asphalt underneath. They absorb and deflect UV rays, dramatically slowing down the aging process. As a bonus, they give shingles their color. If you’ve ever cleaned your gutters and noticed those little rocks collecting at the bottom, those are the granules doing their thing. 4. The Sealant Strip On the underside of each shingle is a small strip of black sealant. It may look insignificant, but it’s one of the most important parts of the system. Once installed and warmed by the sun, this strip bonds the shingles together, helps seal the nails below, and creates a watertight, wind‑resistant layer. Small strip, huge impact. Here is a photo from the IKO website, www.iko.com 
January 3, 2026
Improve your home’s winter insulation in Western Massachusetts with energy-efficient windows that reduce drafts, heat loss, and heating costs.
November 24, 2025
How Long Should Your Roof Really Last in Massachusetts Weather? Let’s be honest, no one thinks about their roof until there’s a leak, a missing shingle, or a surprise brown stain on the ceiling. But in a place like Western Massachusetts, where snow, wind, and summer heat hit hard, your roof is working overtime. So, how long should your roof actually last in our climate? The honest answer: it depends. But here’s what you should know so you can plan, avoid surprises, and protect your home (and wallet).
Show More
asphalt shingle
January 27, 2026
Have you ever wondered what an asphalt shingle is actually made of? No? Come on, just play along for a moment. You might be surprised by how helpful this is, especially when you’re talking to a roofer or trying to make decisions for your own home project. Who knows, maybe you’ll become a roofing expert one day! (Okay… probably not. But you will feel a lot more confident after this.) Let’s take a quick look at what goes into a typical architectural asphalt shingle. Each layer plays an important role: A fiberglass mat An asphalt coating Protective granules A sealant strip Now let’s break it down in a way that actually makes sense. 1. The Core: Fiberglass Mat At the heart of the shingle is the fiberglass mat—the foundation everything else attaches to. Think of it like the shingle’s skeleton. It gives the shingle its shape, strength, and flexibility so it can handle wind, movement, and the changing seasons. But while the fiberglass mat is strong, it can’t stop water on its own. That brings us to the next, and arguably most important, layer. 2. The Waterproofing: Asphalt Coating The fiberglass mat is coated with asphalt on both sides, creating a sort of asphalt “sandwich.” This is the true workhorse of the shingle. Asphalt delivers the waterproofing, protects against hail and debris, and holds everything else together. If the fiberglass is the skeleton, asphalt is the muscle. The only downside? Asphalt ages. Sunlight (especially UV rays) slowly breaks down the chemical binders, and daily temperature swings cause expansion and contraction. Over time, that leads to cracking. Fortunately, the next layer helps protect it. 3. UV Protection & Color: Granules Those colorful little granules on the surface aren’t just for looks. They’re crushed stone coated with ceramic pigments, and they act like sunscreen for the asphalt underneath. They absorb and deflect UV rays, dramatically slowing down the aging process. As a bonus, they give shingles their color. If you’ve ever cleaned your gutters and noticed those little rocks collecting at the bottom, those are the granules doing their thing. 4. The Sealant Strip On the underside of each shingle is a small strip of black sealant. It may look insignificant, but it’s one of the most important parts of the system. Once installed and warmed by the sun, this strip bonds the shingles together, helps seal the nails below, and creates a watertight, wind‑resistant layer. Small strip, huge impact. Here is a photo from the IKO website, www.iko.com 
January 3, 2026
Improve your home’s winter insulation in Western Massachusetts with energy-efficient windows that reduce drafts, heat loss, and heating costs.
Show More