
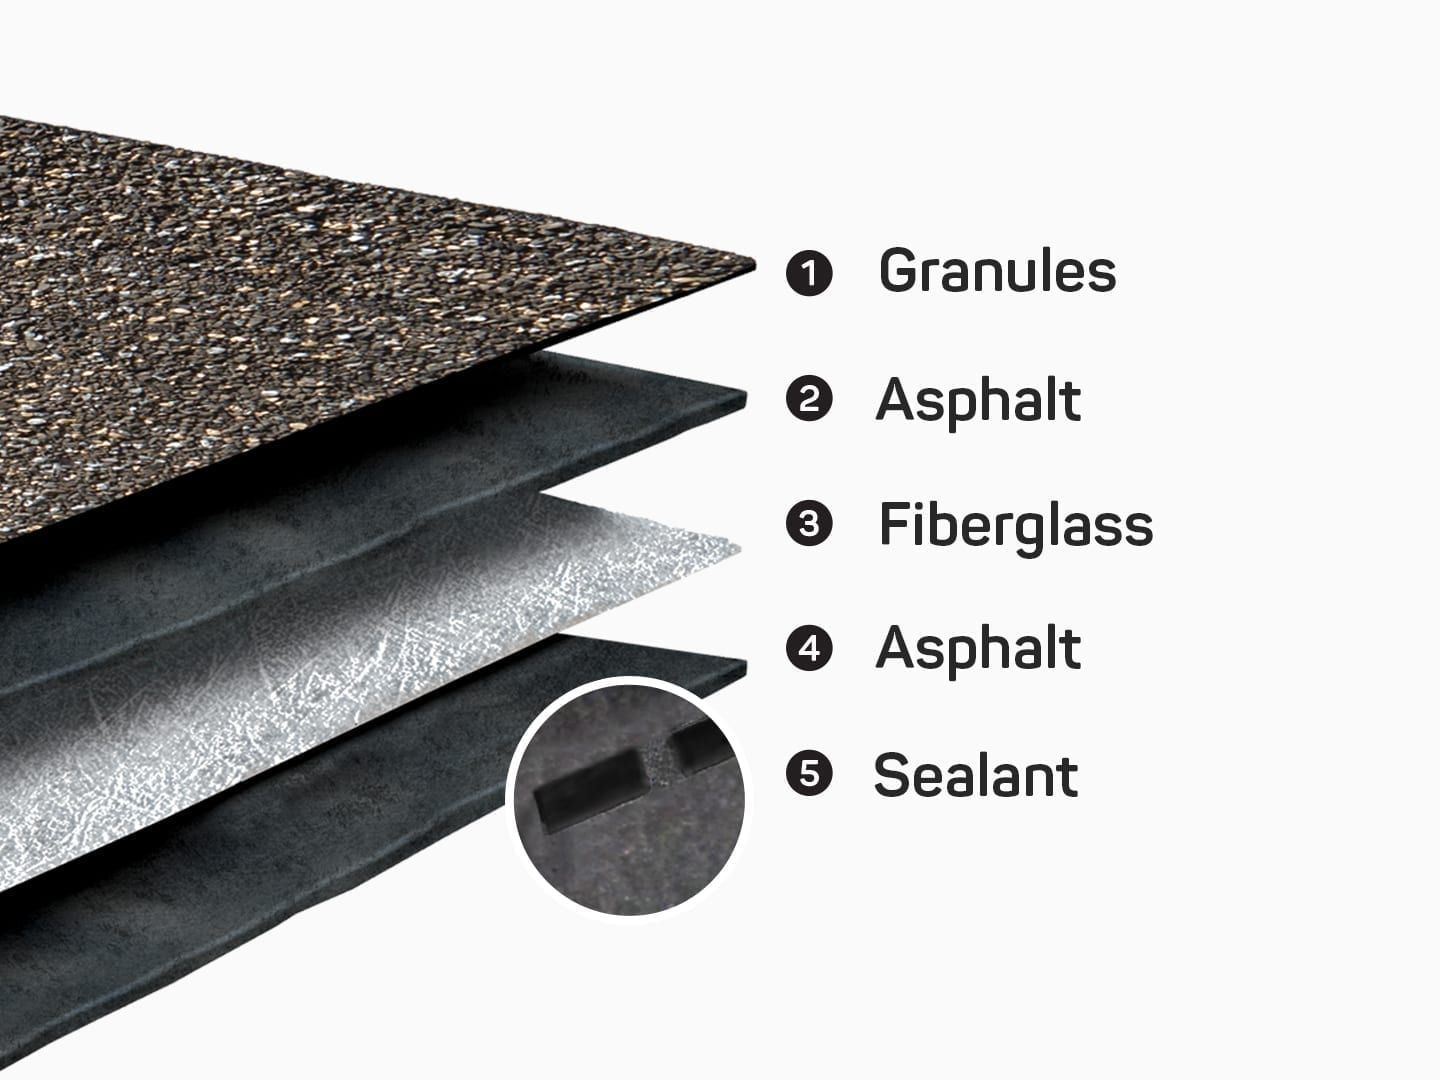
Have you ever wondered what an asphalt shingle is actually made of? No? Come on, just play along for a moment. You might be surprised by how helpful this is, especially when you’re talking to a roofer or trying to make decisions for your own home project. Who knows, maybe you’ll become a roofing expert one day! (Okay… probably not. But you will feel a lot more confident after this.) Let’s take a quick look at what goes into a typical architectural asphalt shingle. Each layer plays an important role: A fiberglass mat An asphalt coating Protective granules A sealant strip Now let’s break it down in a way that actually makes sense. 1. The Core: Fiberglass Mat At the heart of the shingle is the fiberglass mat—the foundation everything else attaches to. Think of it like the shingle’s skeleton. It gives the shingle its shape, strength, and flexibility so it can handle wind, movement, and the changing seasons. But while the fiberglass mat is strong, it can’t stop water on its own. That brings us to the next, and arguably most important, layer. 2. The Waterproofing: Asphalt Coating The fiberglass mat is coated with asphalt on both sides, creating a sort of asphalt “sandwich.” This is the true workhorse of the shingle. Asphalt delivers the waterproofing, protects against hail and debris, and holds everything else together. If the fiberglass is the skeleton, asphalt is the muscle. The only downside? Asphalt ages. Sunlight (especially UV rays) slowly breaks down the chemical binders, and daily temperature swings cause expansion and contraction. Over time, that leads to cracking. Fortunately, the next layer helps protect it. 3. UV Protection & Color: Granules Those colorful little granules on the surface aren’t just for looks. They’re crushed stone coated with ceramic pigments, and they act like sunscreen for the asphalt underneath. They absorb and deflect UV rays, dramatically slowing down the aging process. As a bonus, they give shingles their color. If you’ve ever cleaned your gutters and noticed those little rocks collecting at the bottom, those are the granules doing their thing. 4. The Sealant Strip On the underside of each shingle is a small strip of black sealant. It may look insignificant, but it’s one of the most important parts of the system. Once installed and warmed by the sun, this strip bonds the shingles together, helps seal the nails below, and creates a watertight, wind‑resistant layer. Small strip, huge impact. Here is a photo from the IKO website, www.iko.com
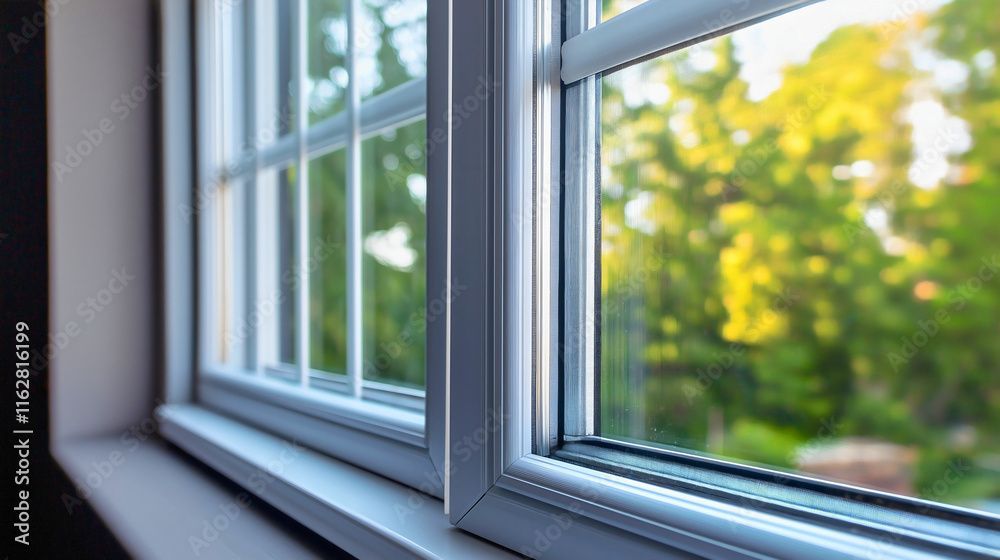
Improve your home’s winter insulation in Western Massachusetts with energy-efficient windows that reduce drafts, heat loss, and heating costs.
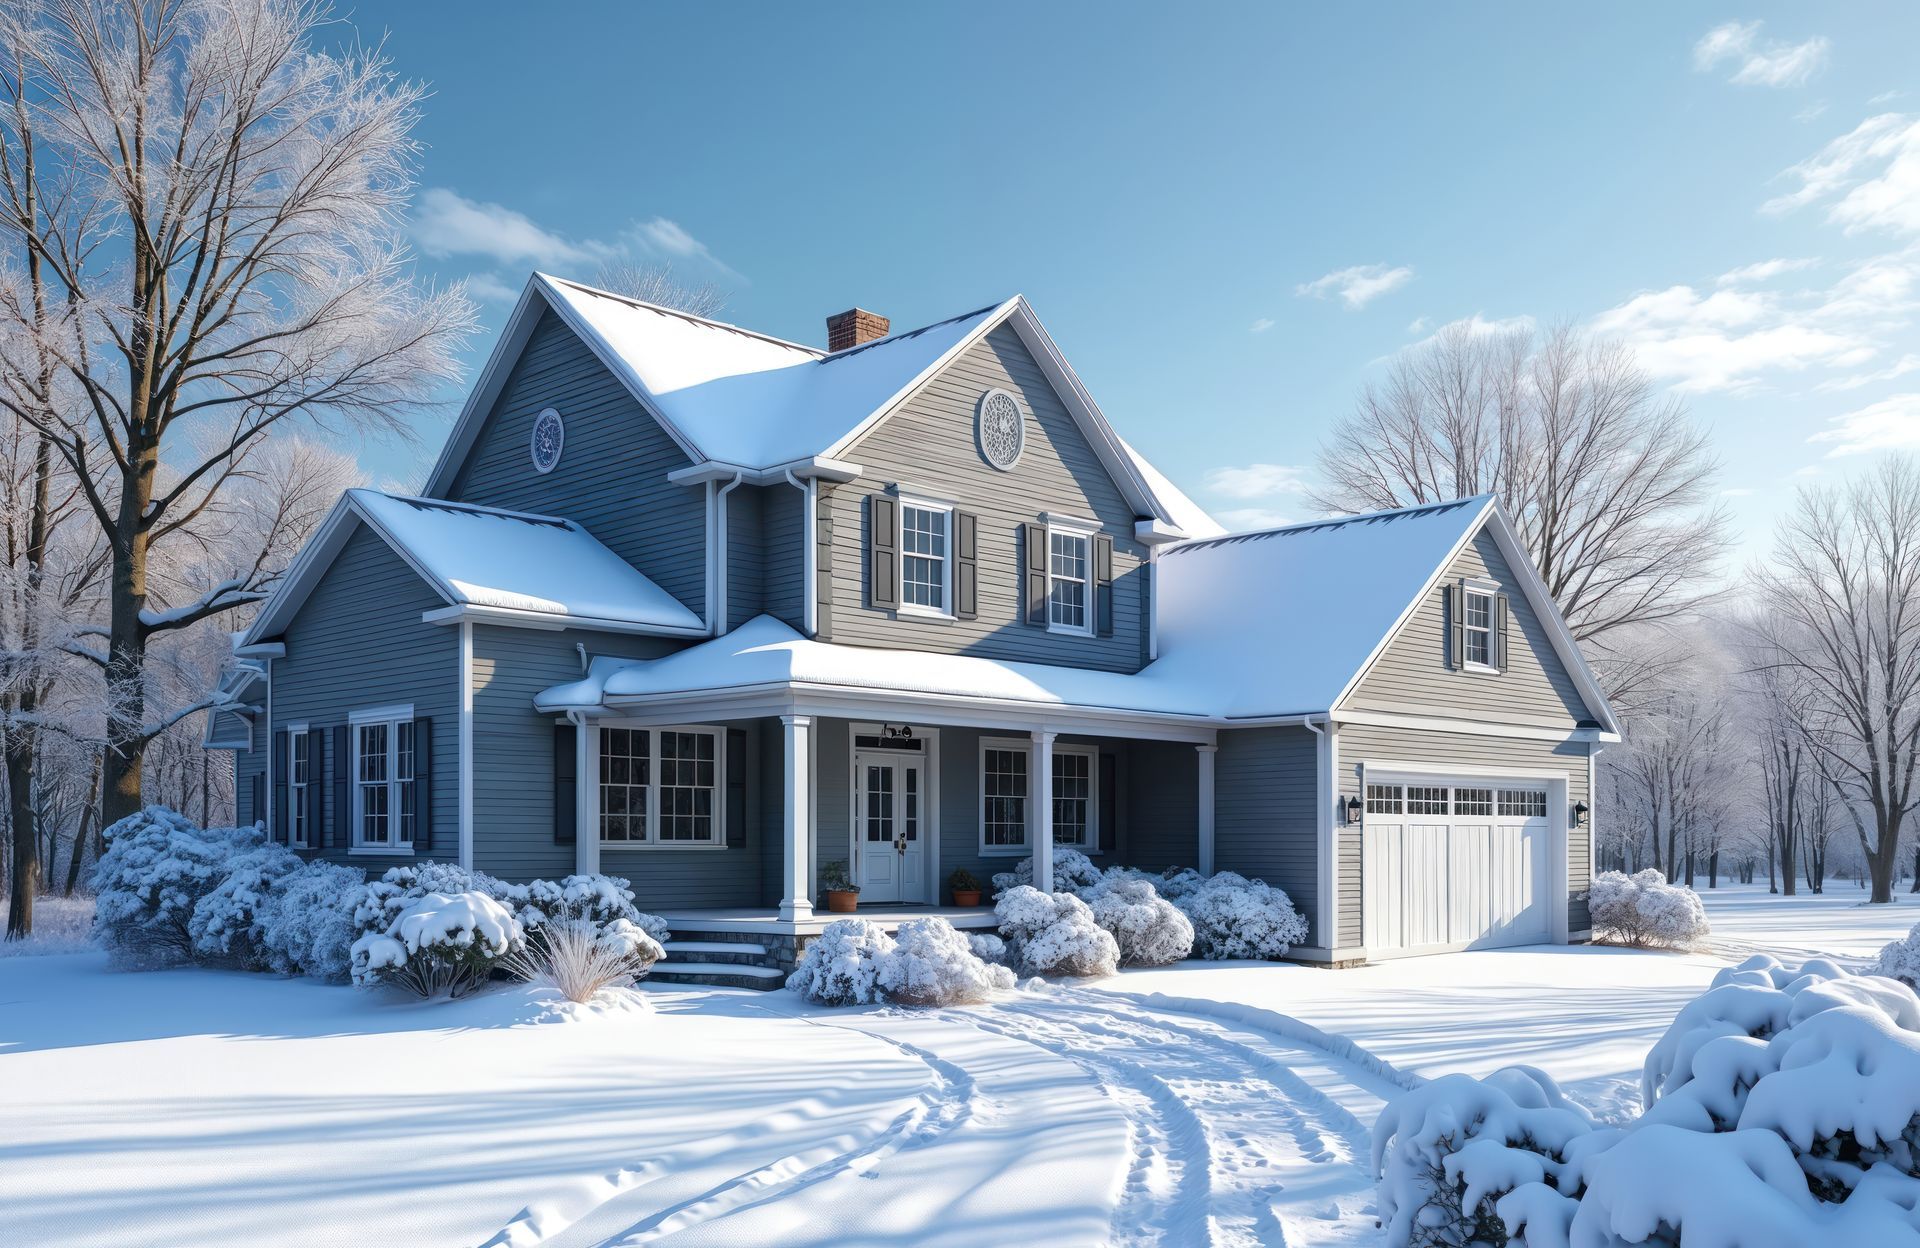
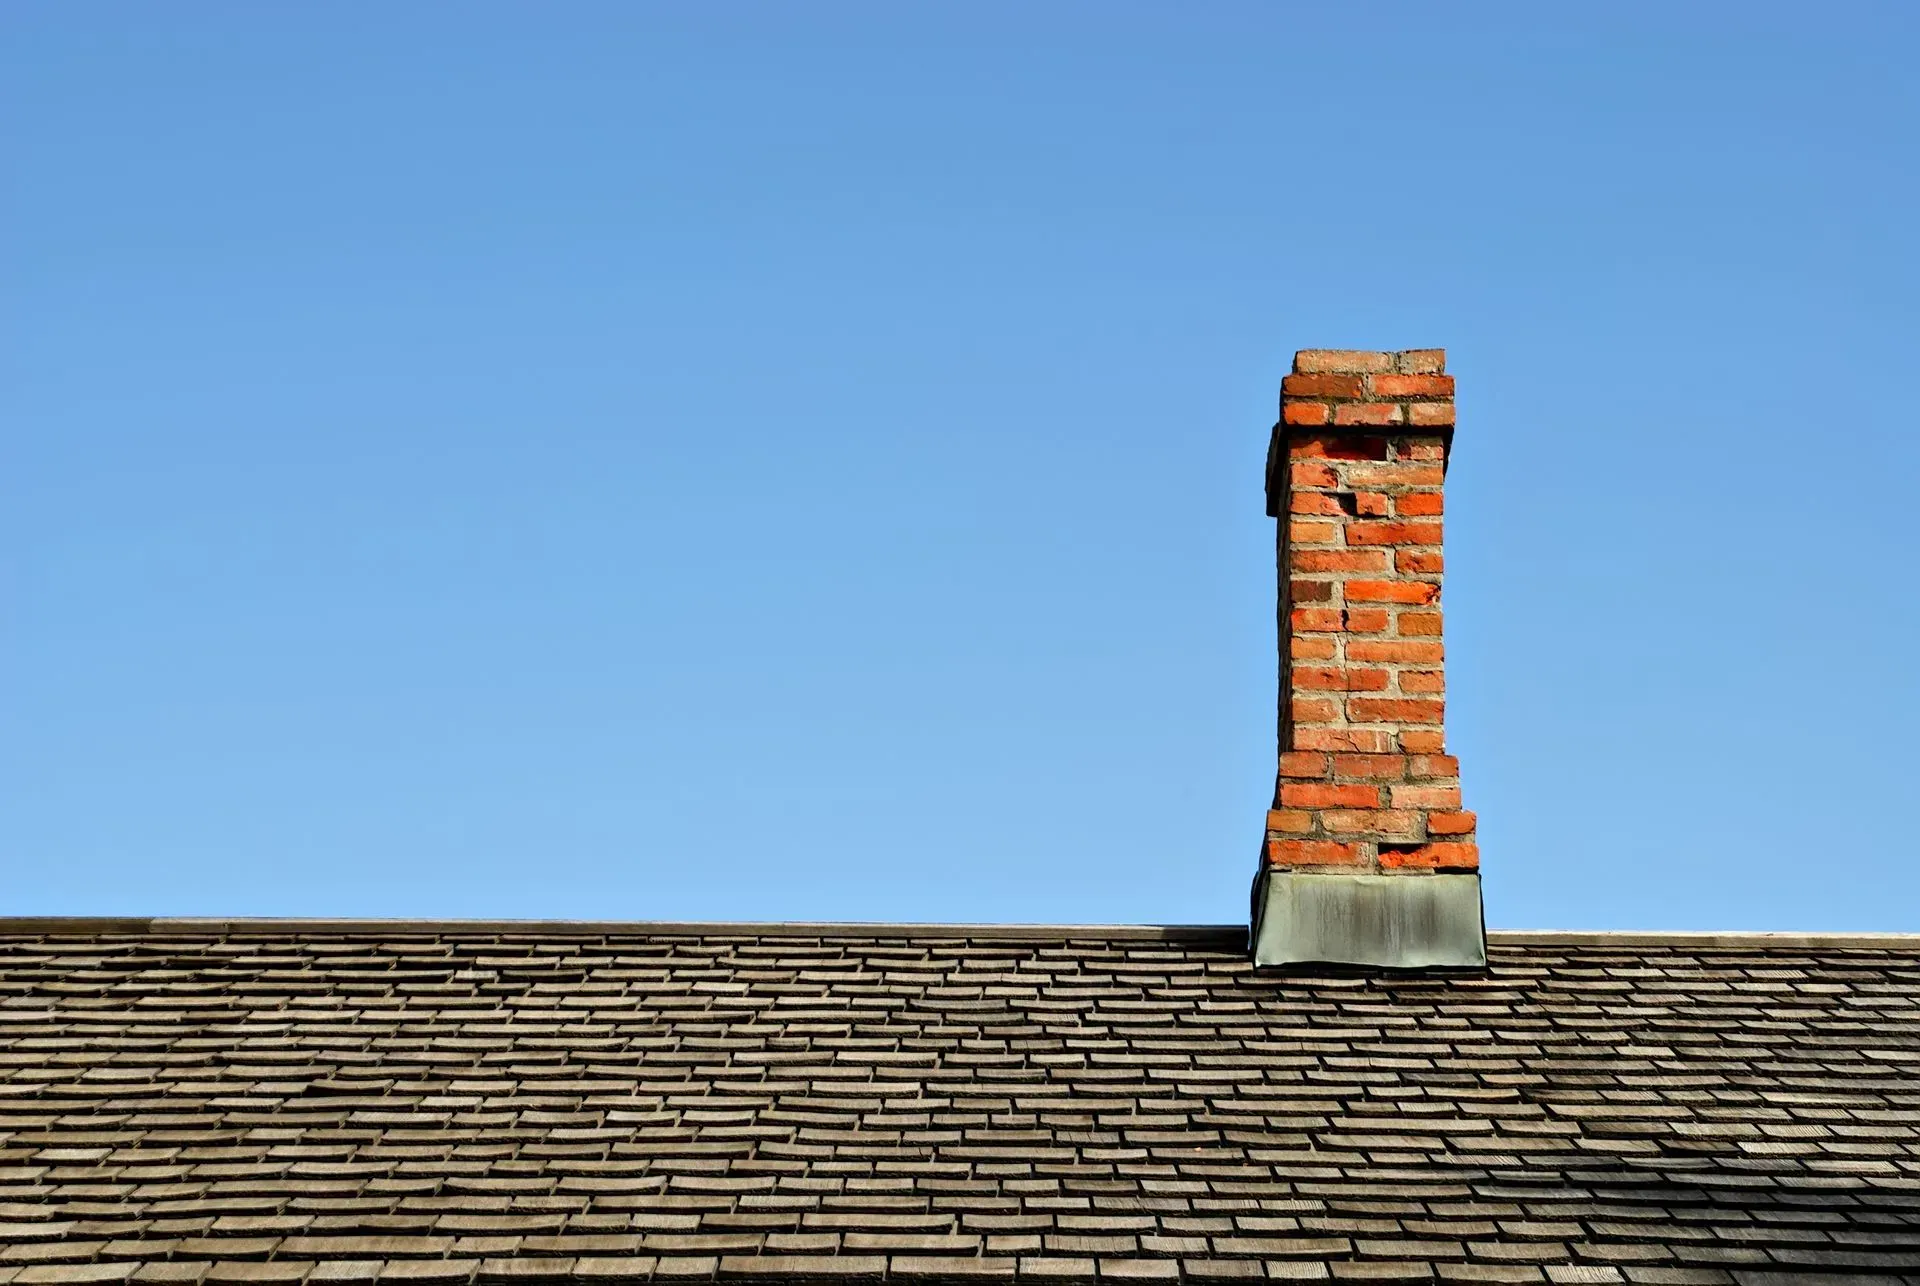
How Long Should Your Roof Really Last in Massachusetts Weather? Let’s be honest, no one thinks about their roof until there’s a leak, a missing shingle, or a surprise brown stain on the ceiling. But in a place like Western Massachusetts, where snow, wind, and summer heat hit hard, your roof is working overtime. So, how long should your roof actually last in our climate? The honest answer: it depends. But here’s what you should know so you can plan, avoid surprises, and protect your home (and wallet).
Have you ever wondered what an asphalt shingle is actually made of? No? Come on, just play along for a moment. You might be surprised by how helpful this is, especially when you’re talking to a roofer or trying to make decisions for your own home project. Who knows, maybe you’ll become a roofing expert one day! (Okay… probably not. But you will feel a lot more confident after this.) Let’s take a quick look at what goes into a typical architectural asphalt shingle. Each layer plays an important role: A fiberglass mat An asphalt coating Protective granules A sealant strip Now let’s break it down in a way that actually makes sense. 1. The Core: Fiberglass Mat At the heart of the shingle is the fiberglass mat—the foundation everything else attaches to. Think of it like the shingle’s skeleton. It gives the shingle its shape, strength, and flexibility so it can handle wind, movement, and the changing seasons. But while the fiberglass mat is strong, it can’t stop water on its own. That brings us to the next, and arguably most important, layer. 2. The Waterproofing: Asphalt Coating The fiberglass mat is coated with asphalt on both sides, creating a sort of asphalt “sandwich.” This is the true workhorse of the shingle. Asphalt delivers the waterproofing, protects against hail and debris, and holds everything else together. If the fiberglass is the skeleton, asphalt is the muscle. The only downside? Asphalt ages. Sunlight (especially UV rays) slowly breaks down the chemical binders, and daily temperature swings cause expansion and contraction. Over time, that leads to cracking. Fortunately, the next layer helps protect it. 3. UV Protection & Color: Granules Those colorful little granules on the surface aren’t just for looks. They’re crushed stone coated with ceramic pigments, and they act like sunscreen for the asphalt underneath. They absorb and deflect UV rays, dramatically slowing down the aging process. As a bonus, they give shingles their color. If you’ve ever cleaned your gutters and noticed those little rocks collecting at the bottom, those are the granules doing their thing. 4. The Sealant Strip On the underside of each shingle is a small strip of black sealant. It may look insignificant, but it’s one of the most important parts of the system. Once installed and warmed by the sun, this strip bonds the shingles together, helps seal the nails below, and creates a watertight, wind‑resistant layer. Small strip, huge impact. Here is a photo from the IKO website, www.iko.com
Improve your home’s winter insulation in Western Massachusetts with energy-efficient windows that reduce drafts, heat loss, and heating costs.

